

hp-mf VESA adapter (V2)
This VESA adapter is compatible with the following HP monitors : 524 524sa 524sf 524sw 527 527sa 527sf 527sw 532 532sf M22f M24f M24fd M24fw M27f M27fd M27fe M27fq M27fw M32f M32fw Serie 5
⚠ WARNING
To minimize the risk of injury, it is important to carefully read all instructions before installation. We accept no liability for personal or material damage caused by improper use of this product.
Also, be sure to pay attention to the technical specifications of the product.
1. Read all instructions thoroughly.
2. A faulty installation can lead to damage or serious injury. Ensure that the product and the monitor are securely mounted before use.
3. Make sure that the mount to which the product is attached can easily support the total weight of the monitor, computer, and adapter.
Important Safeguards
 |
Please read this manual carefully and keep it for future reference. If you pass the product on to third parties, this manual should always be included. Ignoring these instructions may result in injuries or damage to people and products, for which we cannot accept any liability. |
||||||
IMPORTANT - KEEP FOR FUTURE REFERENCE.
• The use of this product should always be in accordance with the specified safety instructions.
• Do not install your VESA adapter in combination with the monitor in places where people are located below.
• Do not exceed the maximum weight of the compatible monitor models, as this may result in serious injuries or property damage.
• Pay attention to the maximum ambient temperature of 35°C when using the product.
• Do not mount the VESA adapter near a heat source or in direct sunlight, as this may cause the adapter to overheat.
• Check if your mounting point (e.g., monitor arm) can support the weight of the monitor with the VESA adapter.
• The product is designed exclusively for mounting with a hole pattern of 75x75 / 100x100mm / 200x200mm.
• After installing the VESA adapter, the position of the monitor must be readjusted to ensure proper ergonomics.
⚠ WARNING
Ensure that the device is turned off and disconnected from the power supply before installation to avoid possible injuries or damage.
1. Before First Use
Check the product carefully for possible transport damage and for the absence of accessories, such as screws, which should be included in the scope of delivery.
⚠ CAUTION
Make sure that packaging materials and small screws and parts contained therein are inaccessible to children to minimize the risk of choking and other risks.
2. Maintenance and Cleaning
2.1 Maintenance
- It is recommended to check every three months that all screws are still tight. Also, regularly check the condition of all components of the product.
- Store the product in a cool and safe place, ideally at a maximum storage temperature of 40°C. For additional safety, keep the product away from children and preferably in its original packaging.
- Avoid any vibrations and shocks so as not to affect the life and functionality of the product.
2.2 Cleaning
- No corrosive or hot cleaning agents should be used to clean the product. Likewise, wire brushes, metal or other sharp materials are unsuitable for cleaning and should not be used.
- For gentle and effective cleaning, the use of a soft, damp cloth is recommended.
3. Waste Disposal
For the disposal of this product we recommend to contact the responsible local authorities or disposal services. They can provide you with detailed information on available disposal options and recycling centers in your area.
4. Manufacturer Information
3idee S.à r.l.
19 Rue de Bitbourg
L-1273 Luxembourg
Luxembourg
mail: info@3idee.eu
5. Help and Feedback
If you need help with your article, we are here for you. We also appreciate any feedback.
https://help.3idee.eu/en/contact
Scope of Delivery Accessories
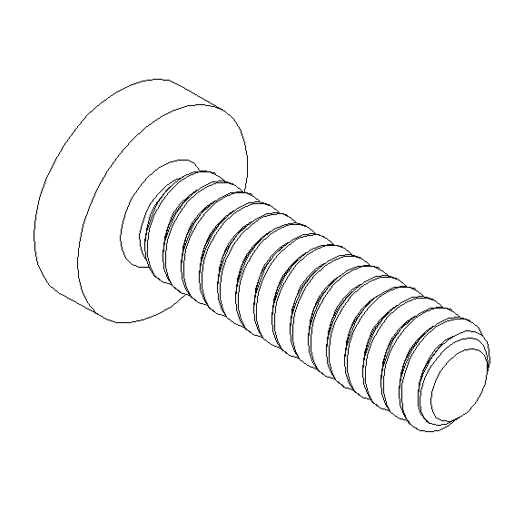
4x M4x14 screw with cross slot (SP2)
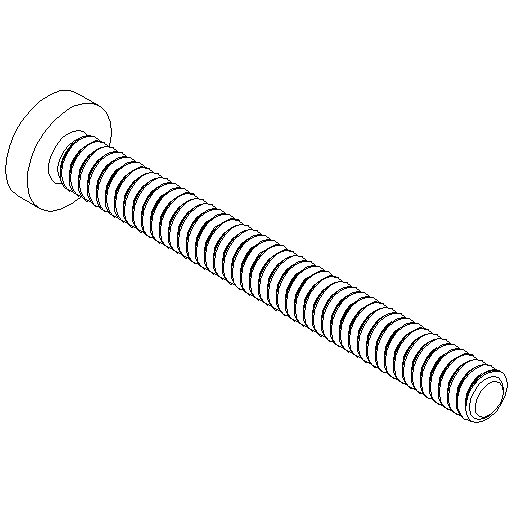
1x M3x18 screw with cross slot (SP71) (TYPE1)
1x M3x14 screw with cross slot (SP72) (Type2)
Horizontal / Vertical Alignment
Please note: Not all VESA adapters and monitors are designed for vertical (upright) orientation. This limitation is often due to the specific geometry of the adapter or monitor. Do not ignore this information, as the load limit of the adapter can quickly be exceeded if not installed properly.
We are continuously working on developing monitors and adapters that are also suitable for vertical orientation.
However, monitors are designed for horizontal alignment by default.
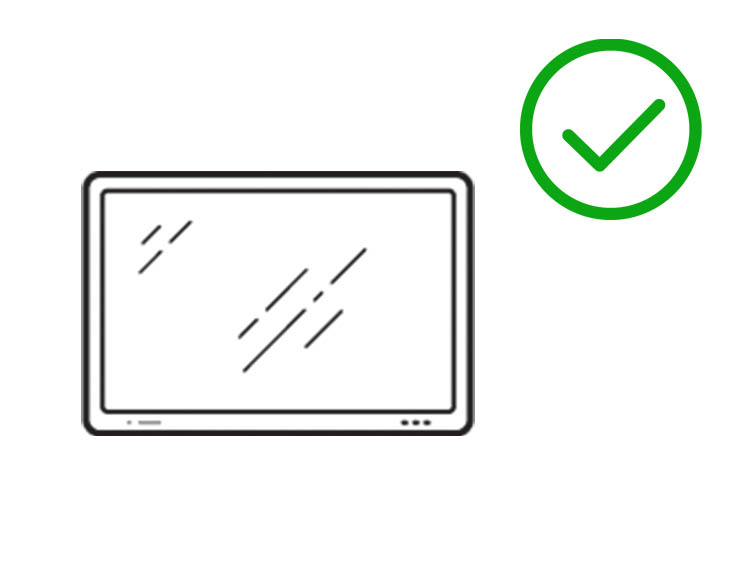
Horizontal Mounting: YES
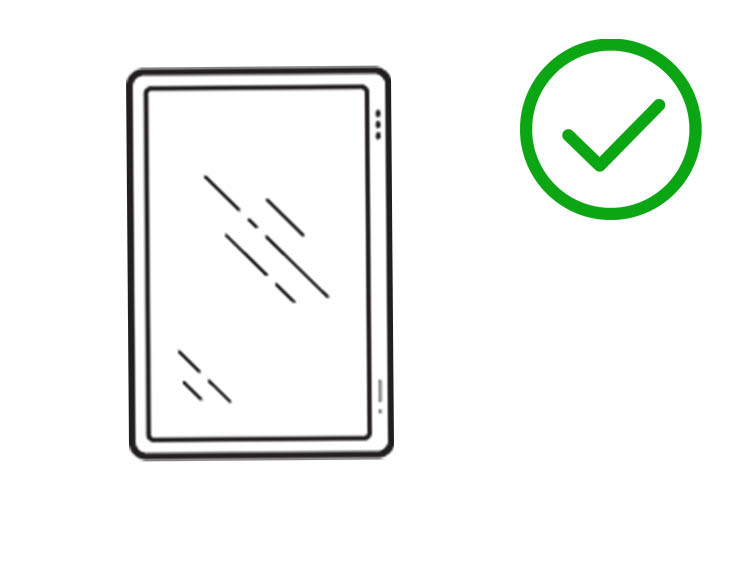
Vertical Mounting: YES
⚠ ATTENTION
Vertical mounting is only possible up to (including) 27 inch monitors.
Assembly Instruction
Step 1
Remove the original stand.
Place the monitor on a safe and soft surface.
Press the lock on the monitor and then pull the stand upwards out of the mount.
/medium/(help-3idee)hp-mf-img1.png)
Step 2
Insert the VESA adapter.
Insert the VESA adapter from above into the existing mount on the monitor. Make sure that the adapter is fully and evenly seated in the mount.
/medium/(help-3idee)hp-mf-img2.png)
Step 3
Attach the VESA adapter.
Insert the screw into the designated opening at the top of the adapter and tighten it with a Phillips screwdriver. This will secure the adapter in the monitor mount.
/medium/(help-3idee)hp-mf-img3.png)
Step 4
Check the recording on the monitor.
Compare the recording of your monitor with the images. Your monitor has either Type 1 – straight recording or Type 2 – offset recording. Then use the appropriate screw set.
/medium/(help-3idee)hp-mf-img4_ES.png)
Step 5
Prepare and screw in the adapter.
Insert the appropriate screw with washer into the adapter and tighten it with a Phillips screwdriver.
/medium/(help-3idee)hp-mf-img5-v2.png)
Step 6
Mount the monitor arm.
Bring the monitor arm close to the VESA adapter. Align the screws with the holes and tighten them evenly with a Phillips screwdriver. After that, your monitor is mounted on the monitor arm.
/medium/(help-3idee)hp-mf-img6.png)