fab-next filament dispenser
The 3idee Filament Dispenser is an innovative product that allows the versatile use of filament rolls from different manufacturers, including brands such as Prusament, Polymaker, Formfutura, eSun and many others.
The dispenser features a very smooth rail system that adapts to any roll, even if it is not perfectly parallel, such as cardboard rolls. This ensures a smooth and even unwinding process.
By adjusting the rolls using simple screws, smaller filament rolls can be used. This flexibility makes it possible to accommodate different sizes of filament rolls and ensure that the filament is unrolled properly, regardless of their size. It is important to adjust the rolls so that the filament is unwound evenly to avoid tangles or knots that could affect print quality.
Thanks to high-quality installed components, the filament dispenser runs maintenance-free and requires no regular upkeep. However, should a component become damaged, a sophisticated design allows all parts to be replaced. This ensures the longevity of the product and possible repairs can be carried out easily and independently.
The 3idee filament dispenser offers a practical solution for 3D printer enthusiasts and professional users who want to use filament rolls from different manufacturers.
By using PETG, it is also possible to use it in heated print chambers. (Example: ABS)
In addition, mounting on a 3D printer is possible, thanks to holes in the rails.
Dimensions
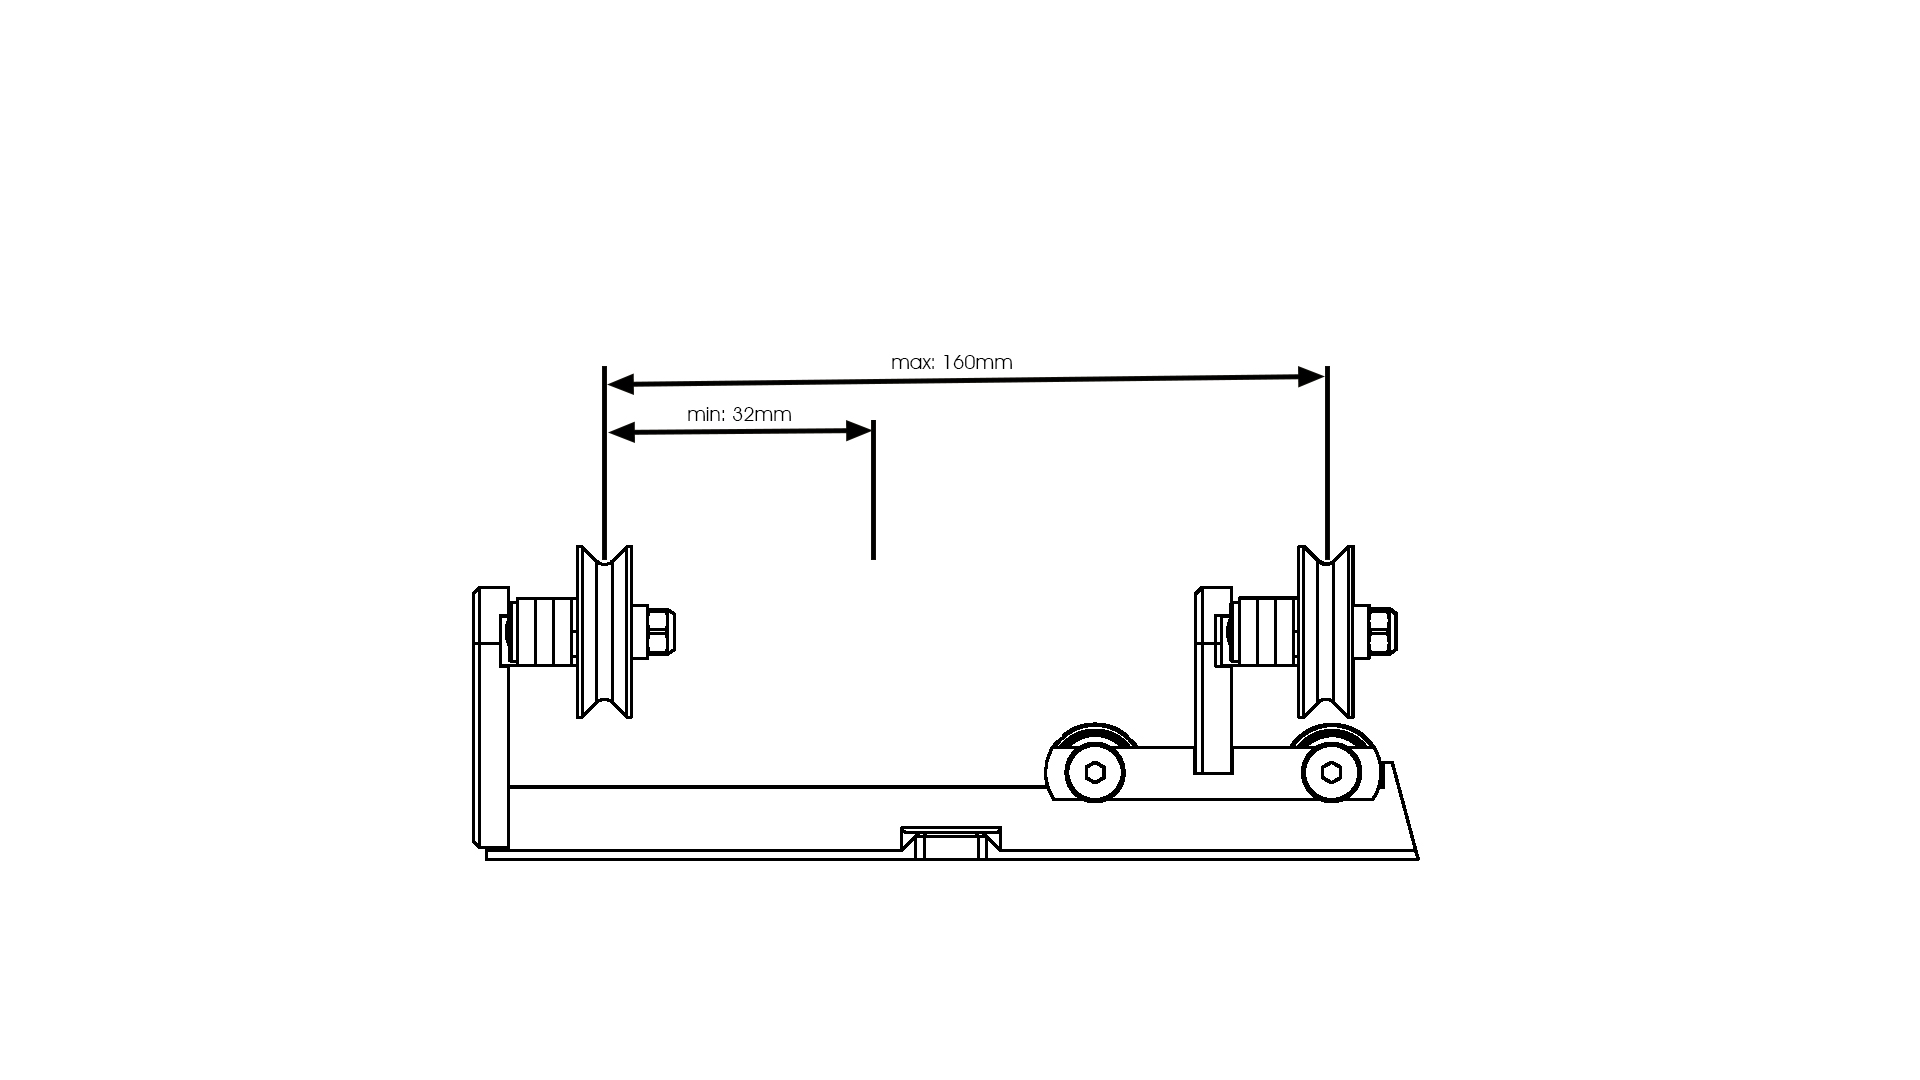
Width of the roll max: 160mm
Width of the roll min : 32mm
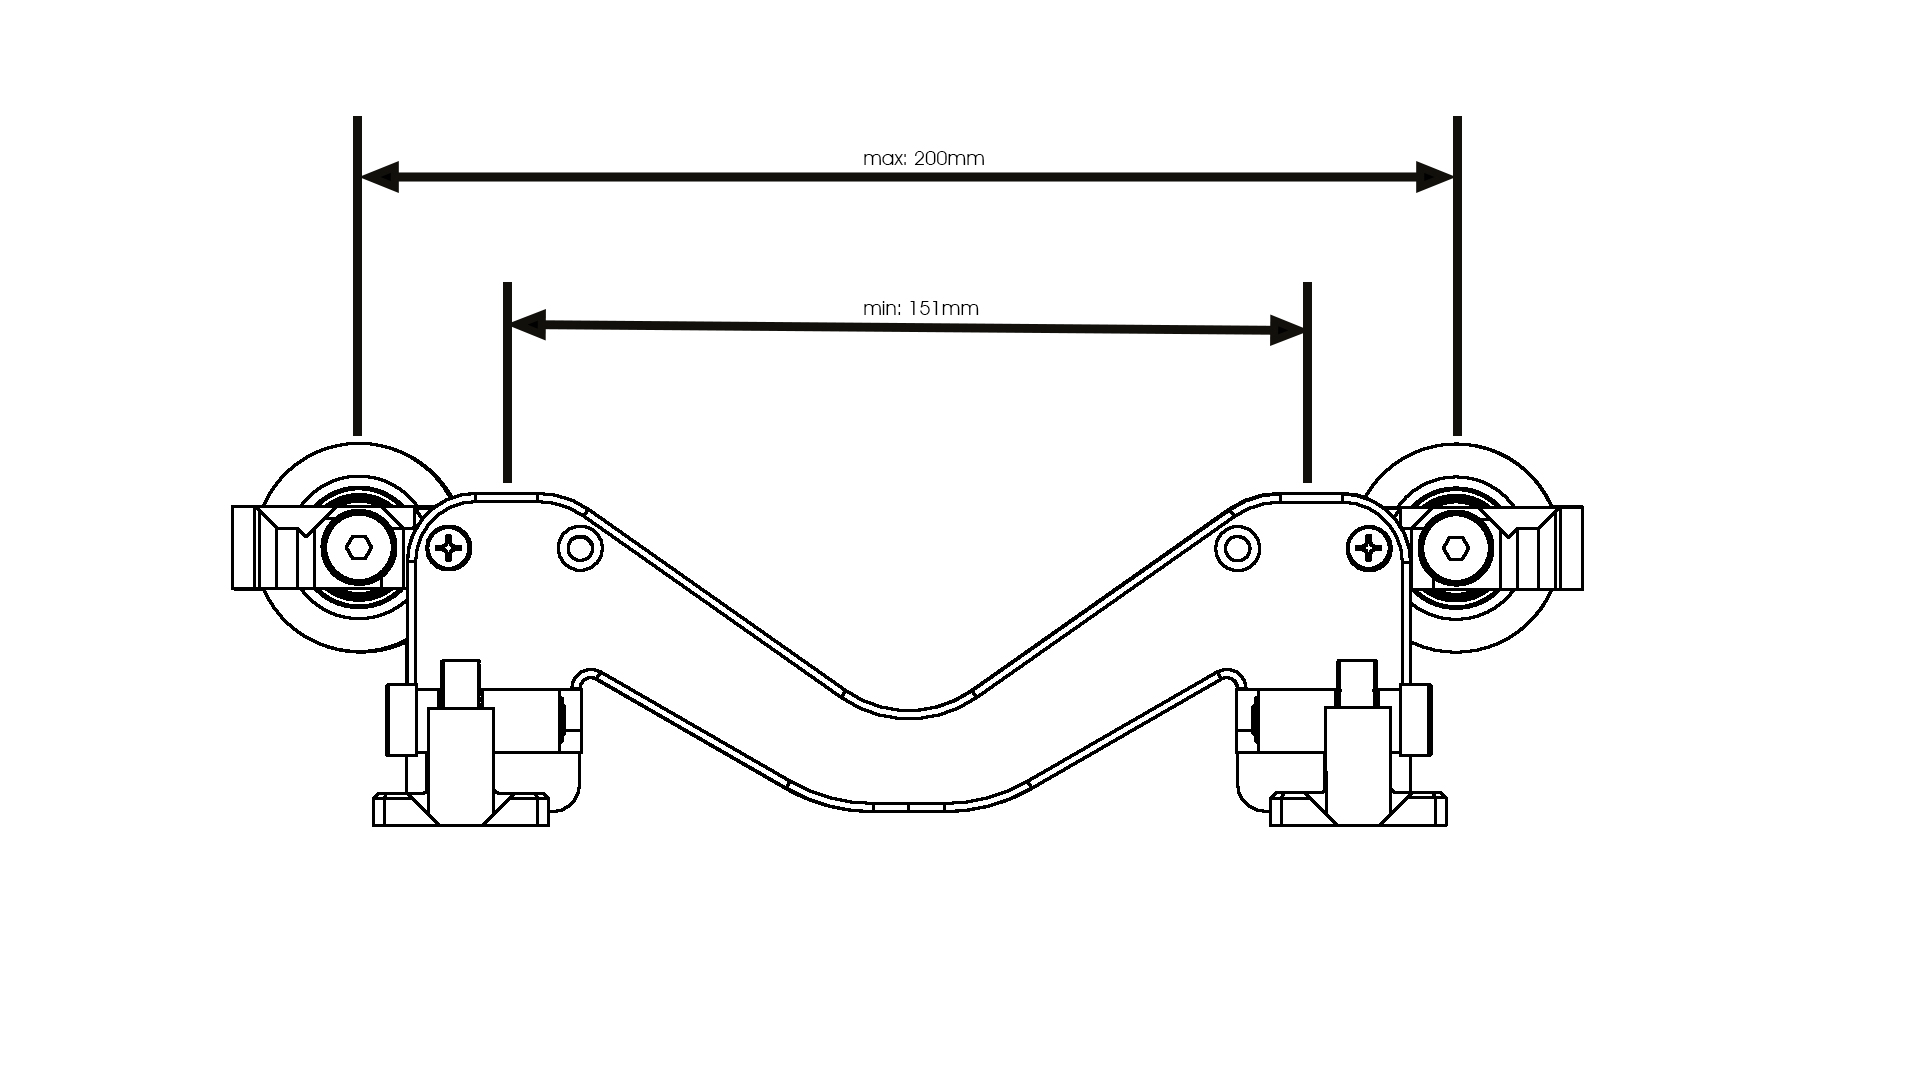
Distance between rollers min : 151mm
Distance between rollers max: 200mm
Scope of delivery
fab-next-p1 (525-830)
1x
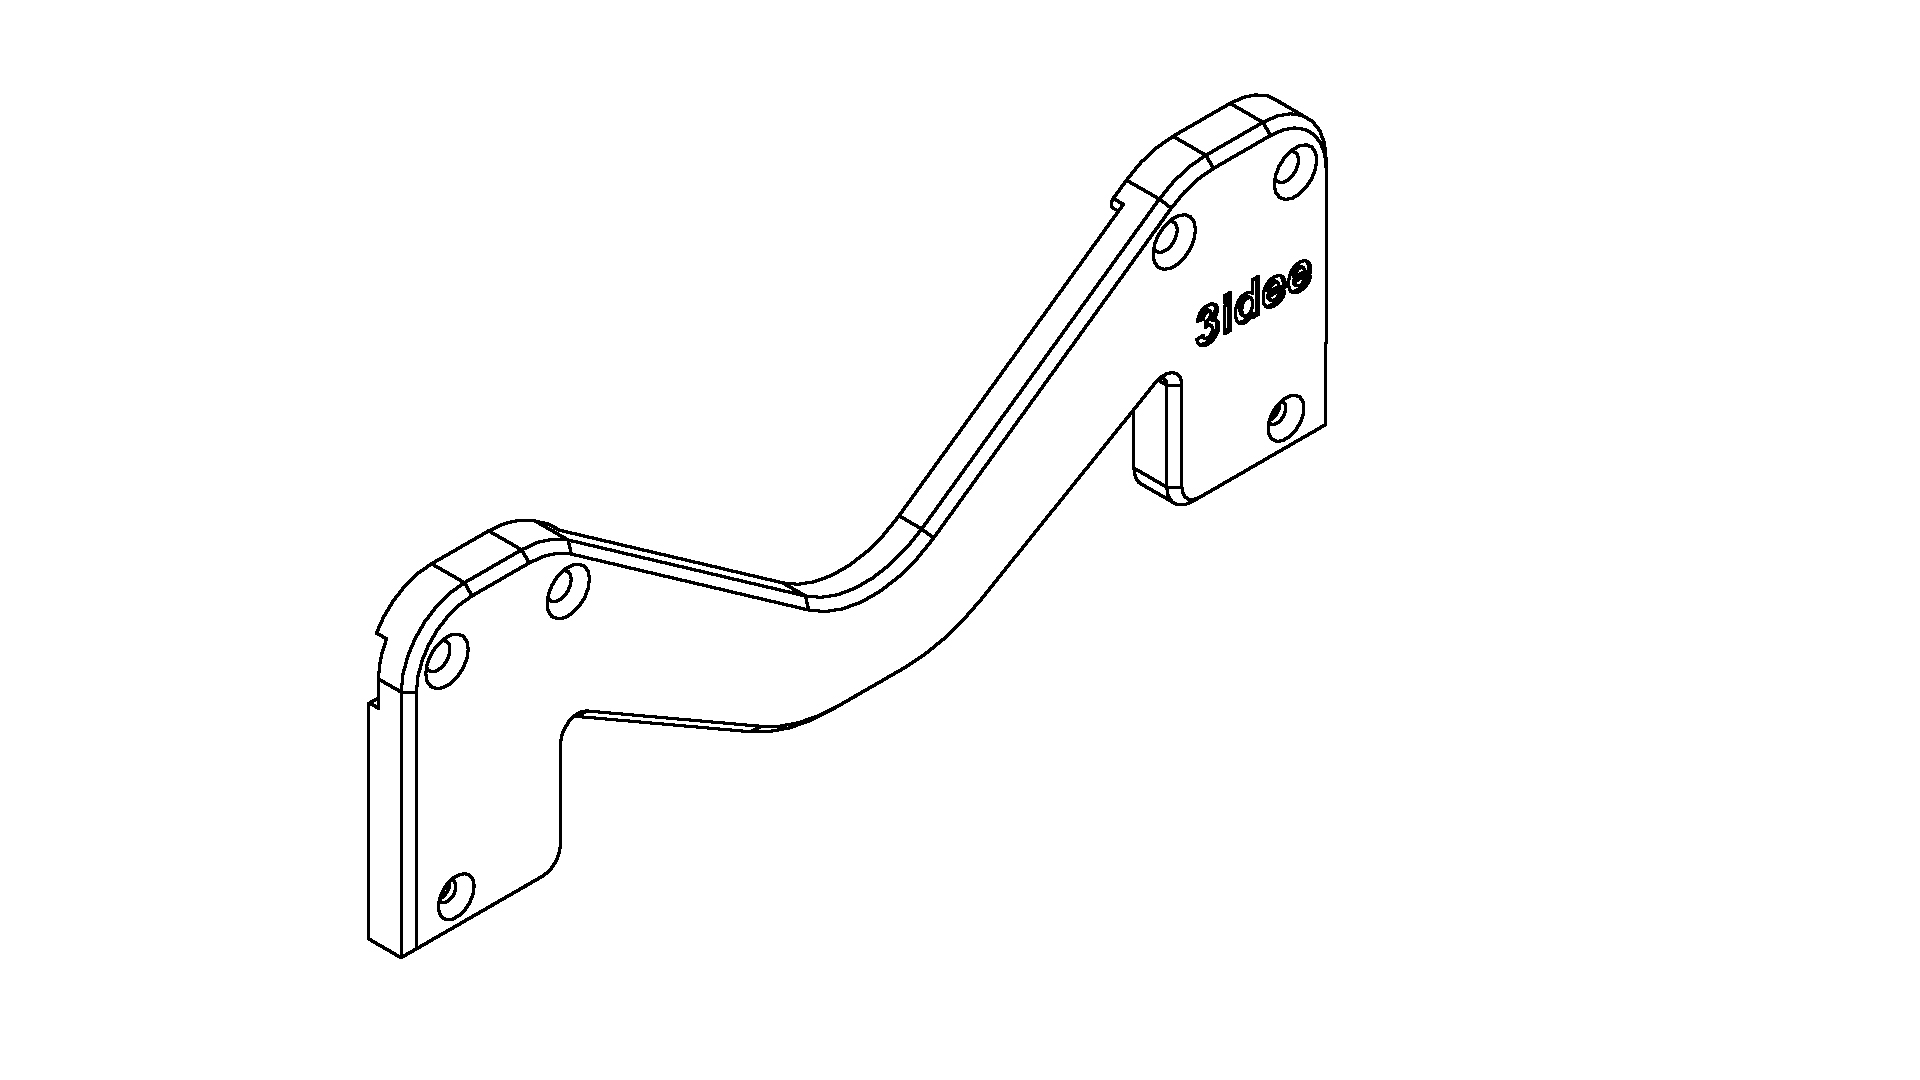
fab-next-p2 (412-155)
1x
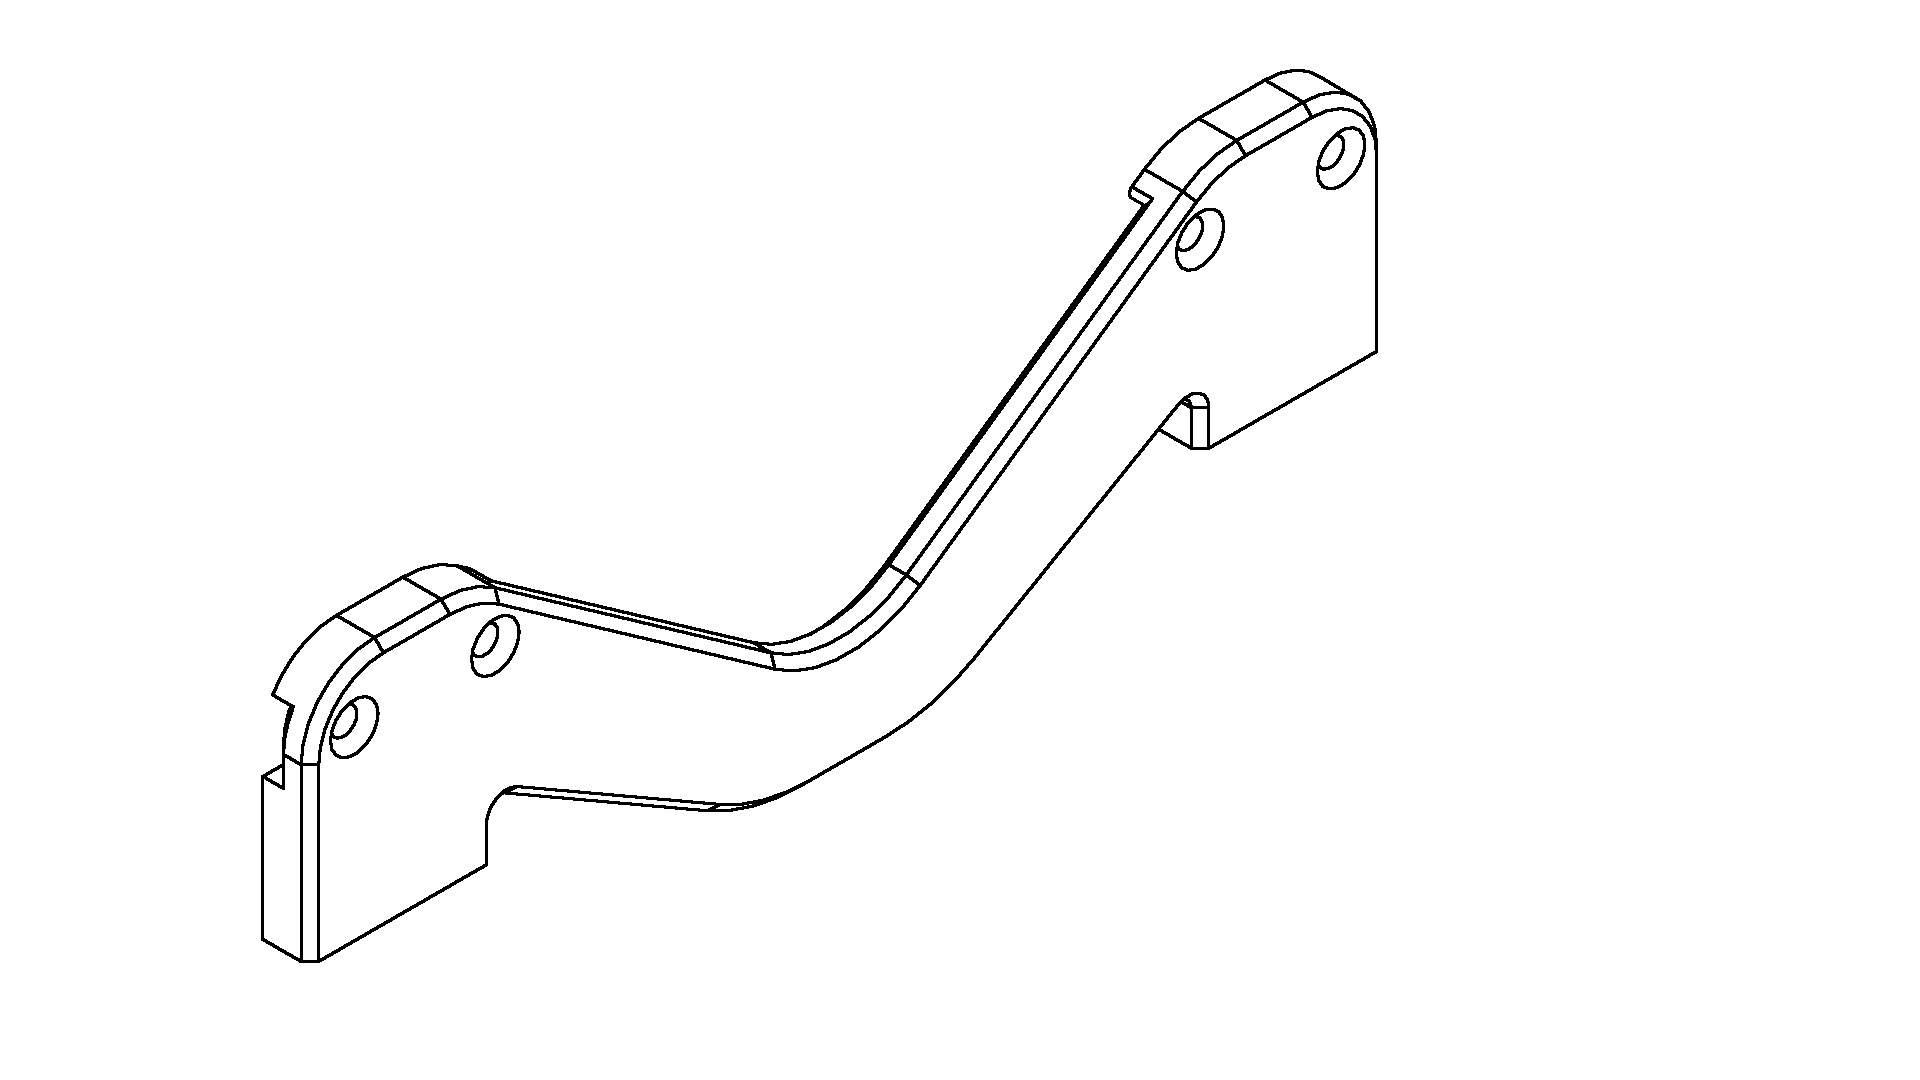
fab-next-p3A-L (144-212)
2x
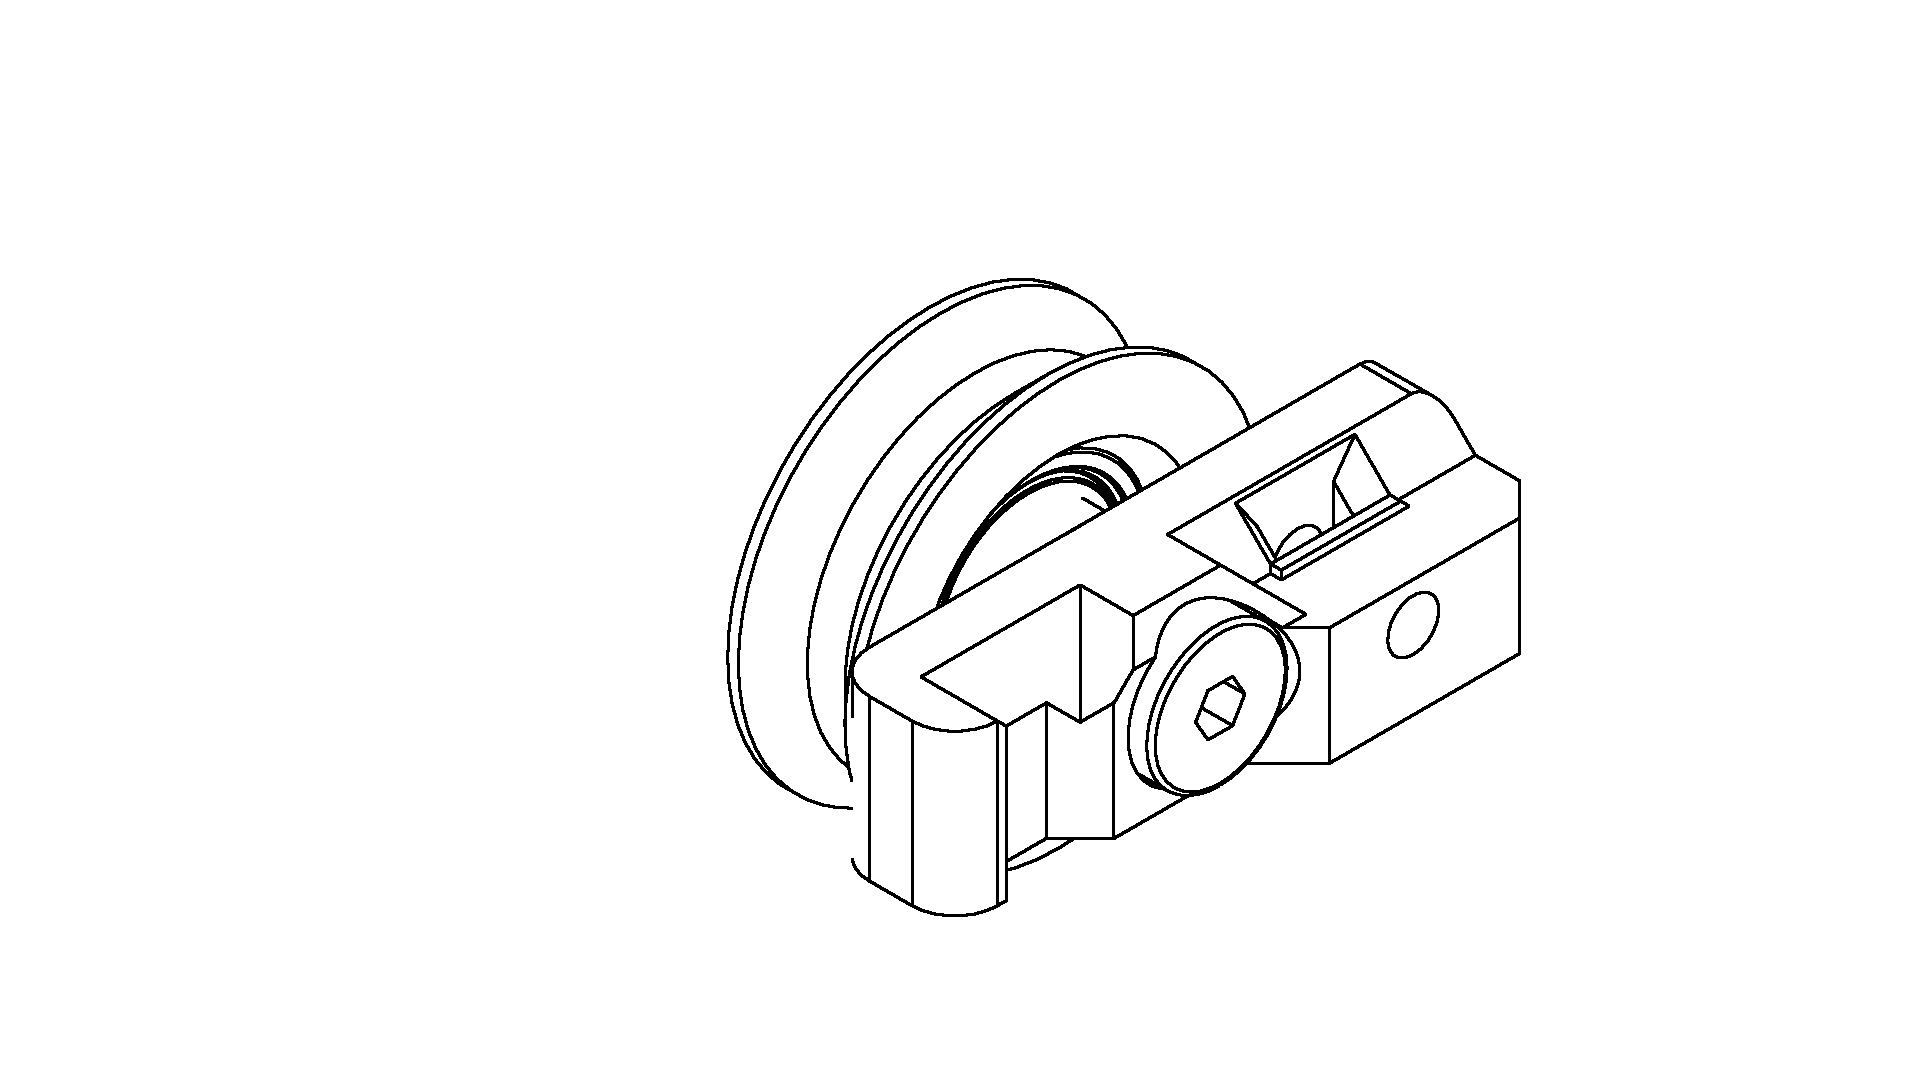
fab-next-p3A-R (748-772)
2x
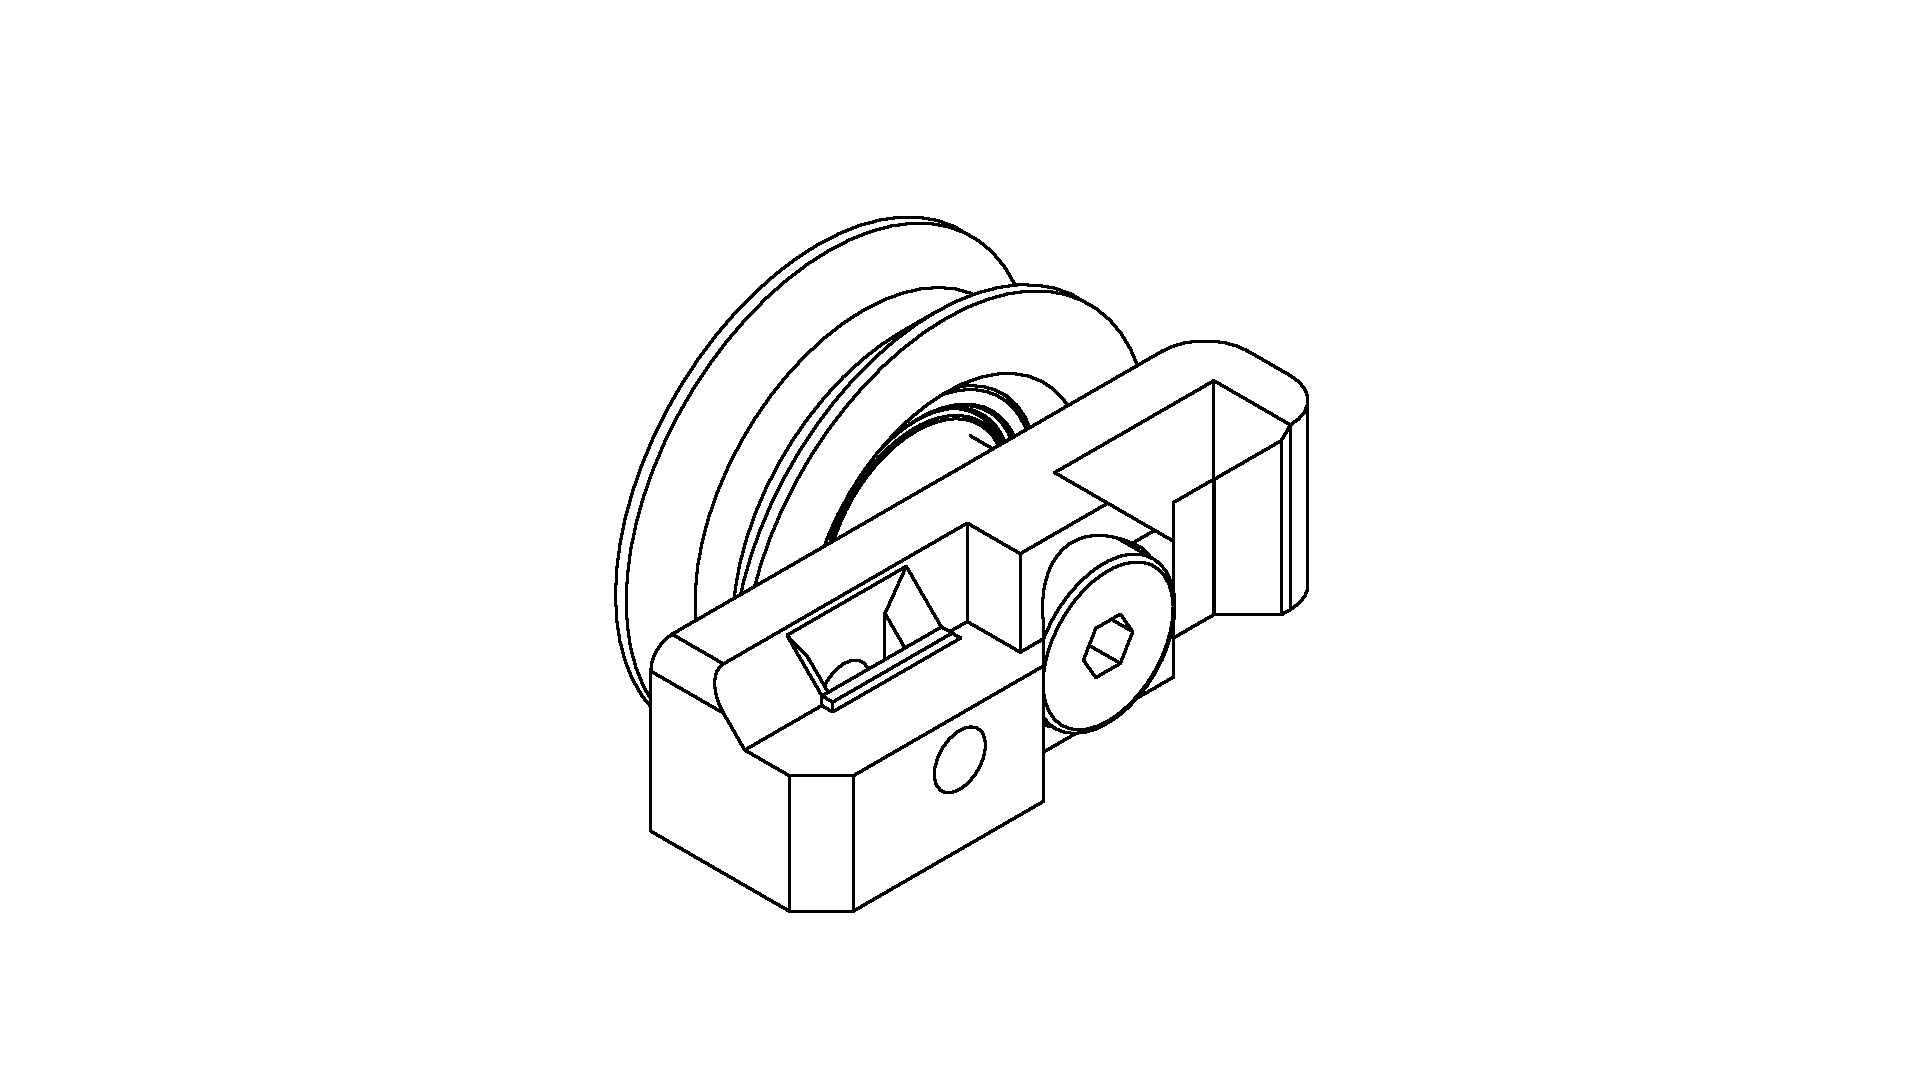
fab-next-p5 (286-227)
2x
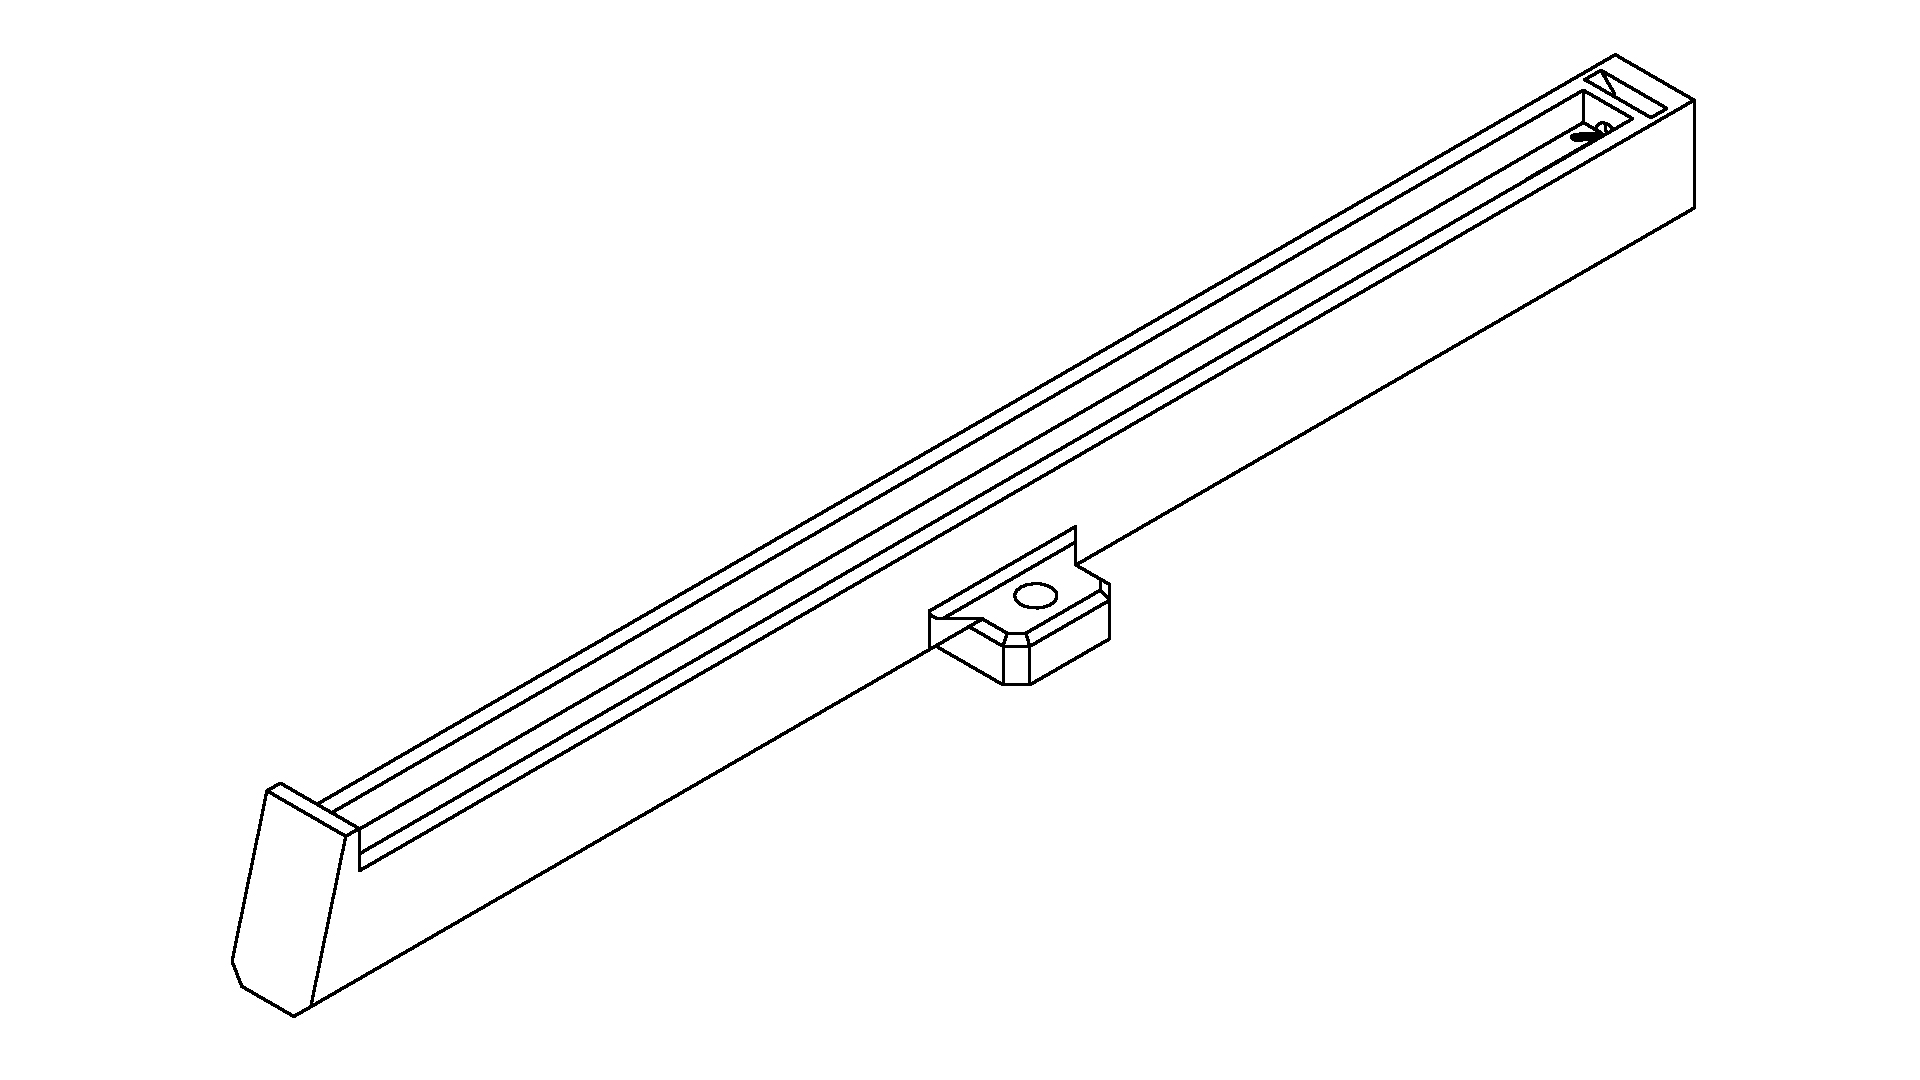
fab-next-p6A (621-946)
2x
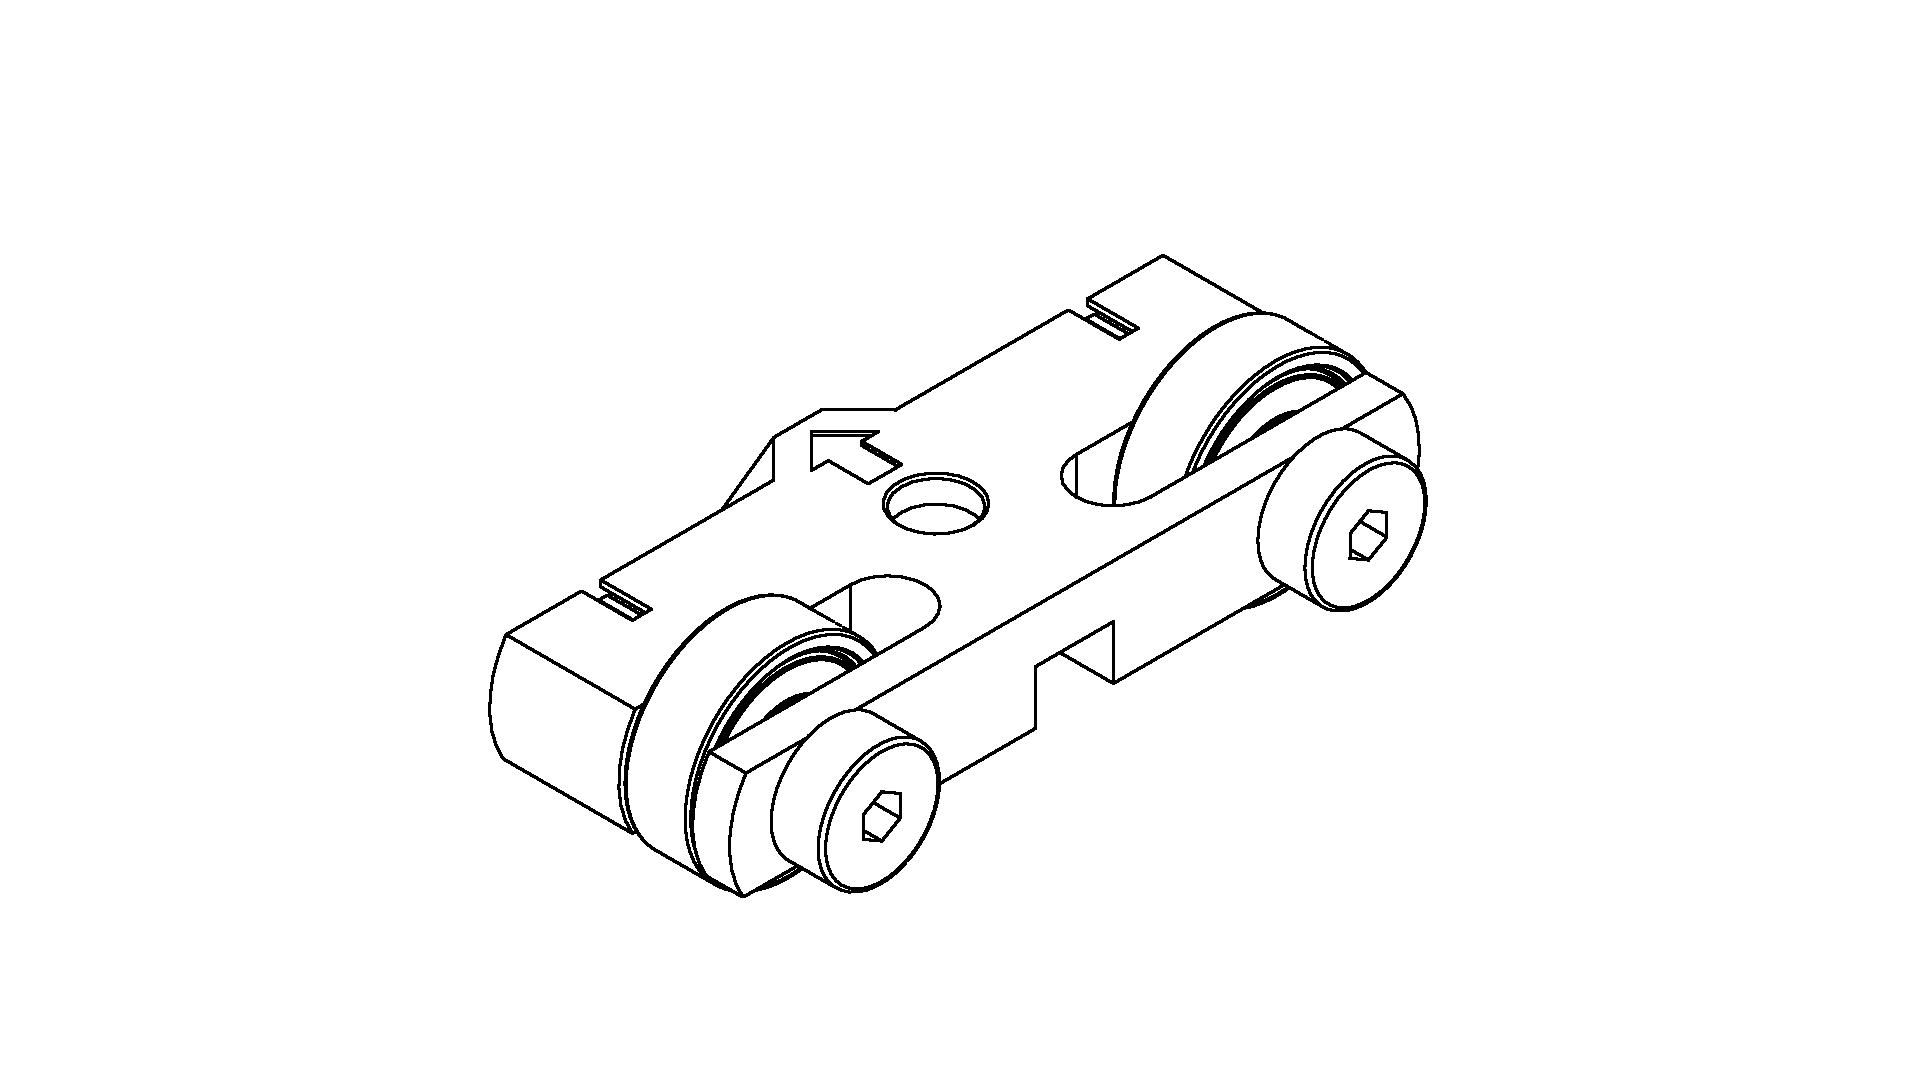
DIN 562 M3 square nut (204-371)
4x
.jpg)
DIN 557 M4 square nut (421-449)
4x
.jpg)
DIN 965 countersunk screw cross recess M3x8 (385-954)
4x
.jpg)
DIN 965 countersunk screw cross recess
M4x20 (687-594)
4x
.jpg)
Assembly instruction
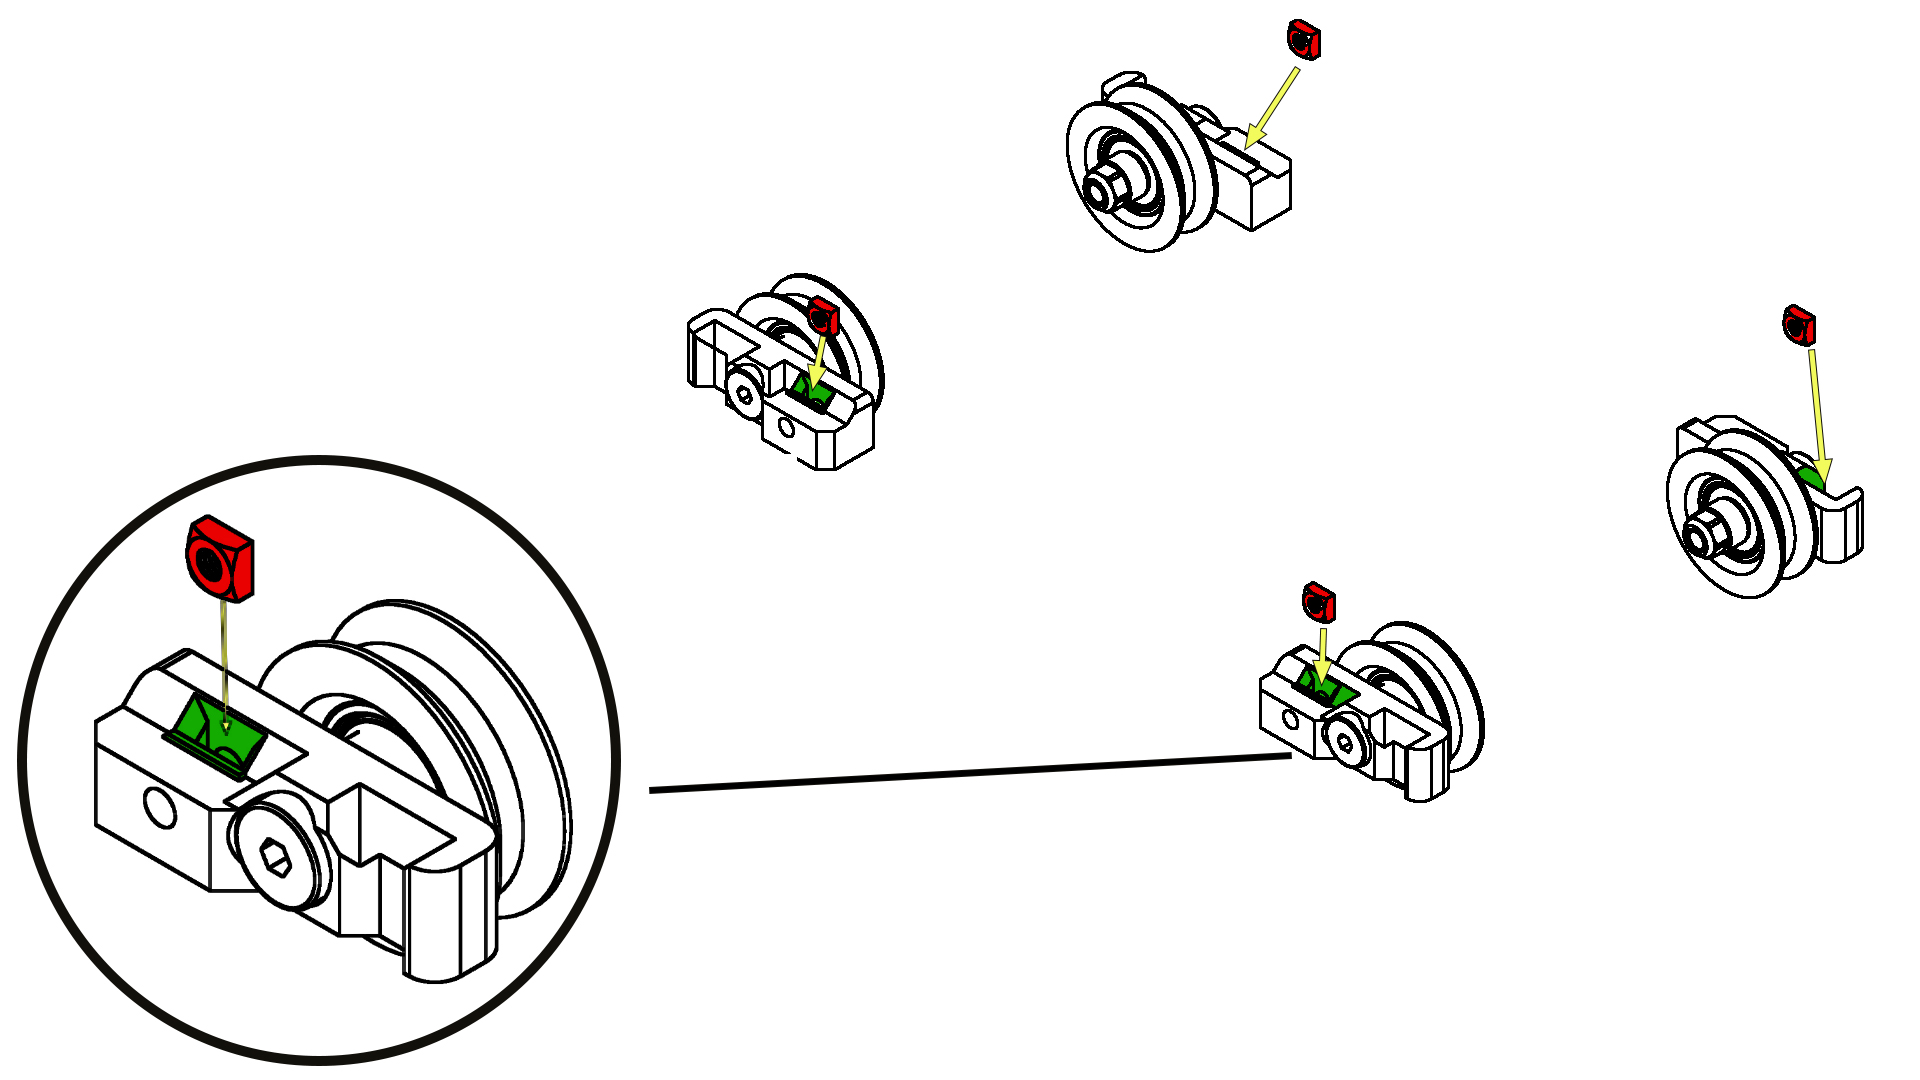
Take 4x DIN 557 M4 square nuts (421-449) and insert them into the components: 2x fab-next-p3A-R (748-772) and 2x fab-next-p5 (286-227) as shown.
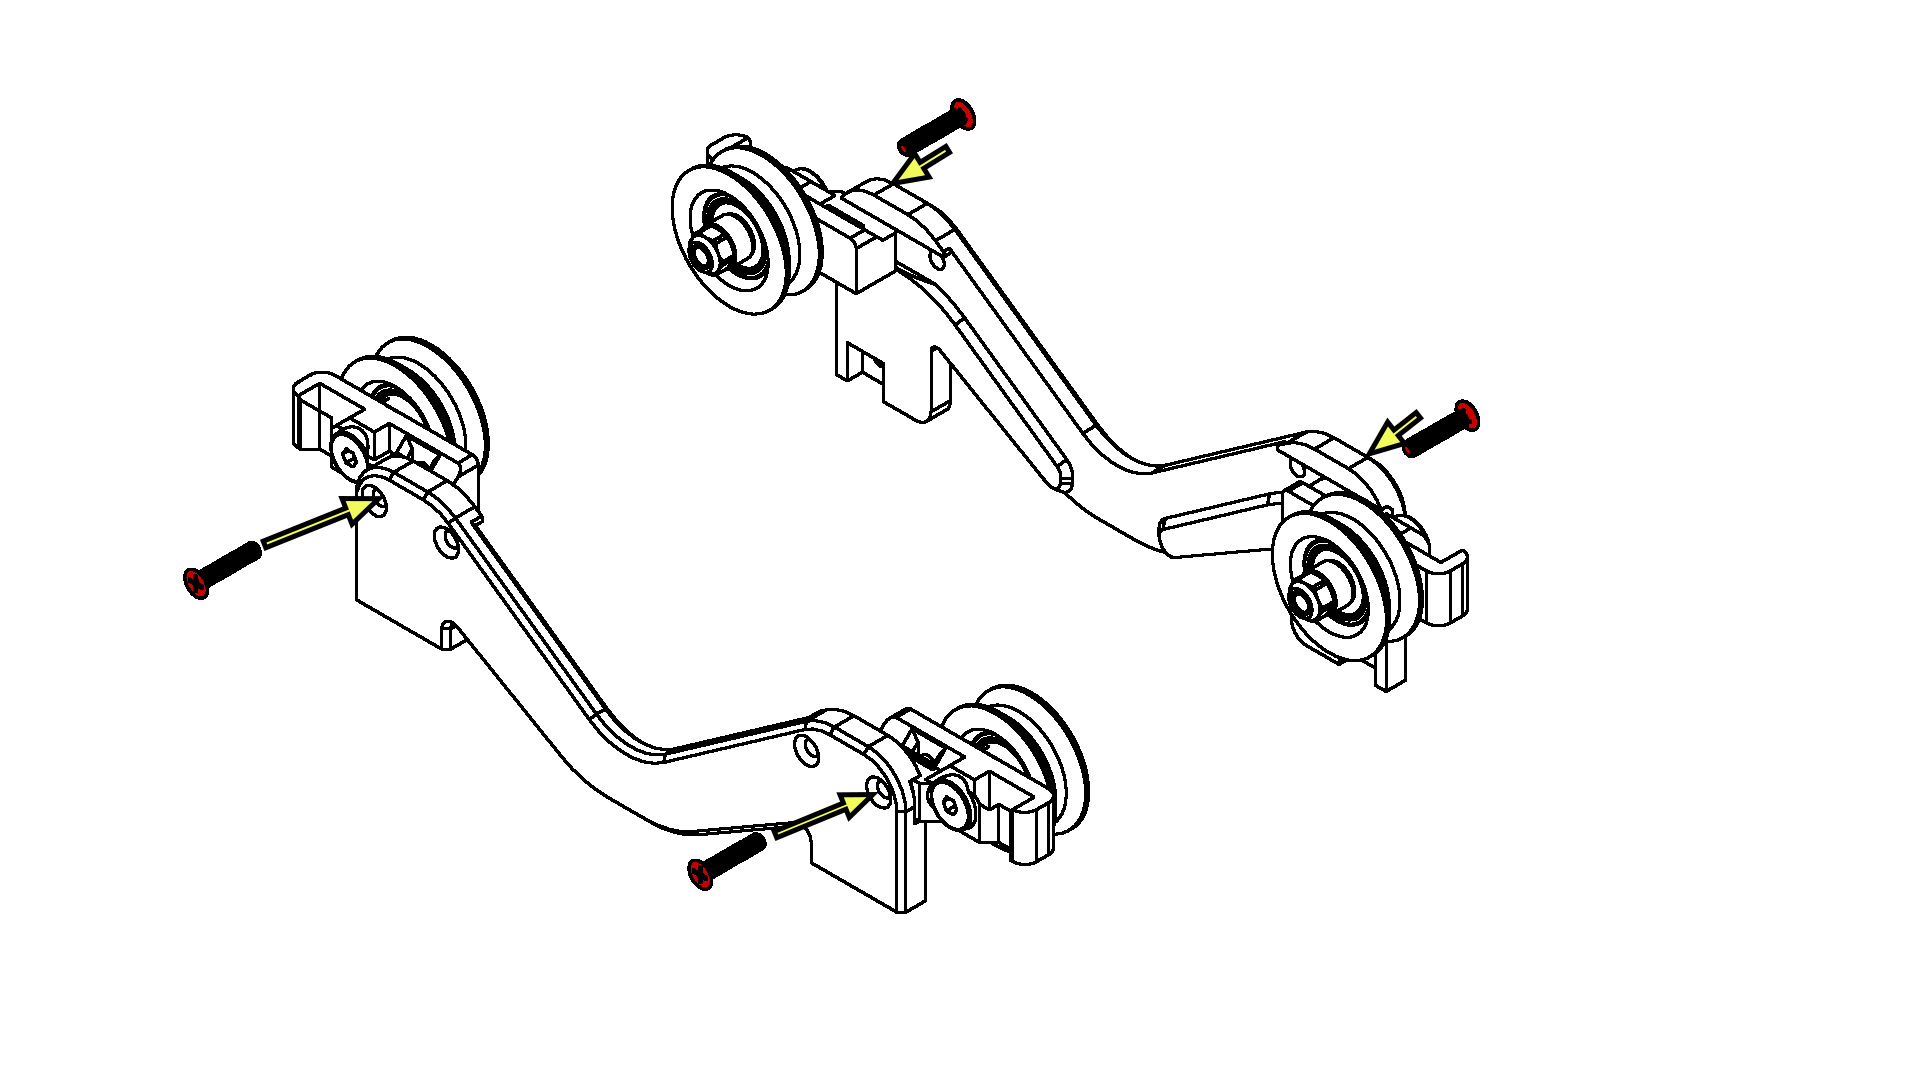
Use 4x DIN 965 countersunk screw cross recess M4x20 (687-594) and fasten them according to the illustration in the components: 1x fab-next-p1 (525-830) and 1x fab-next-p2 (412-155).
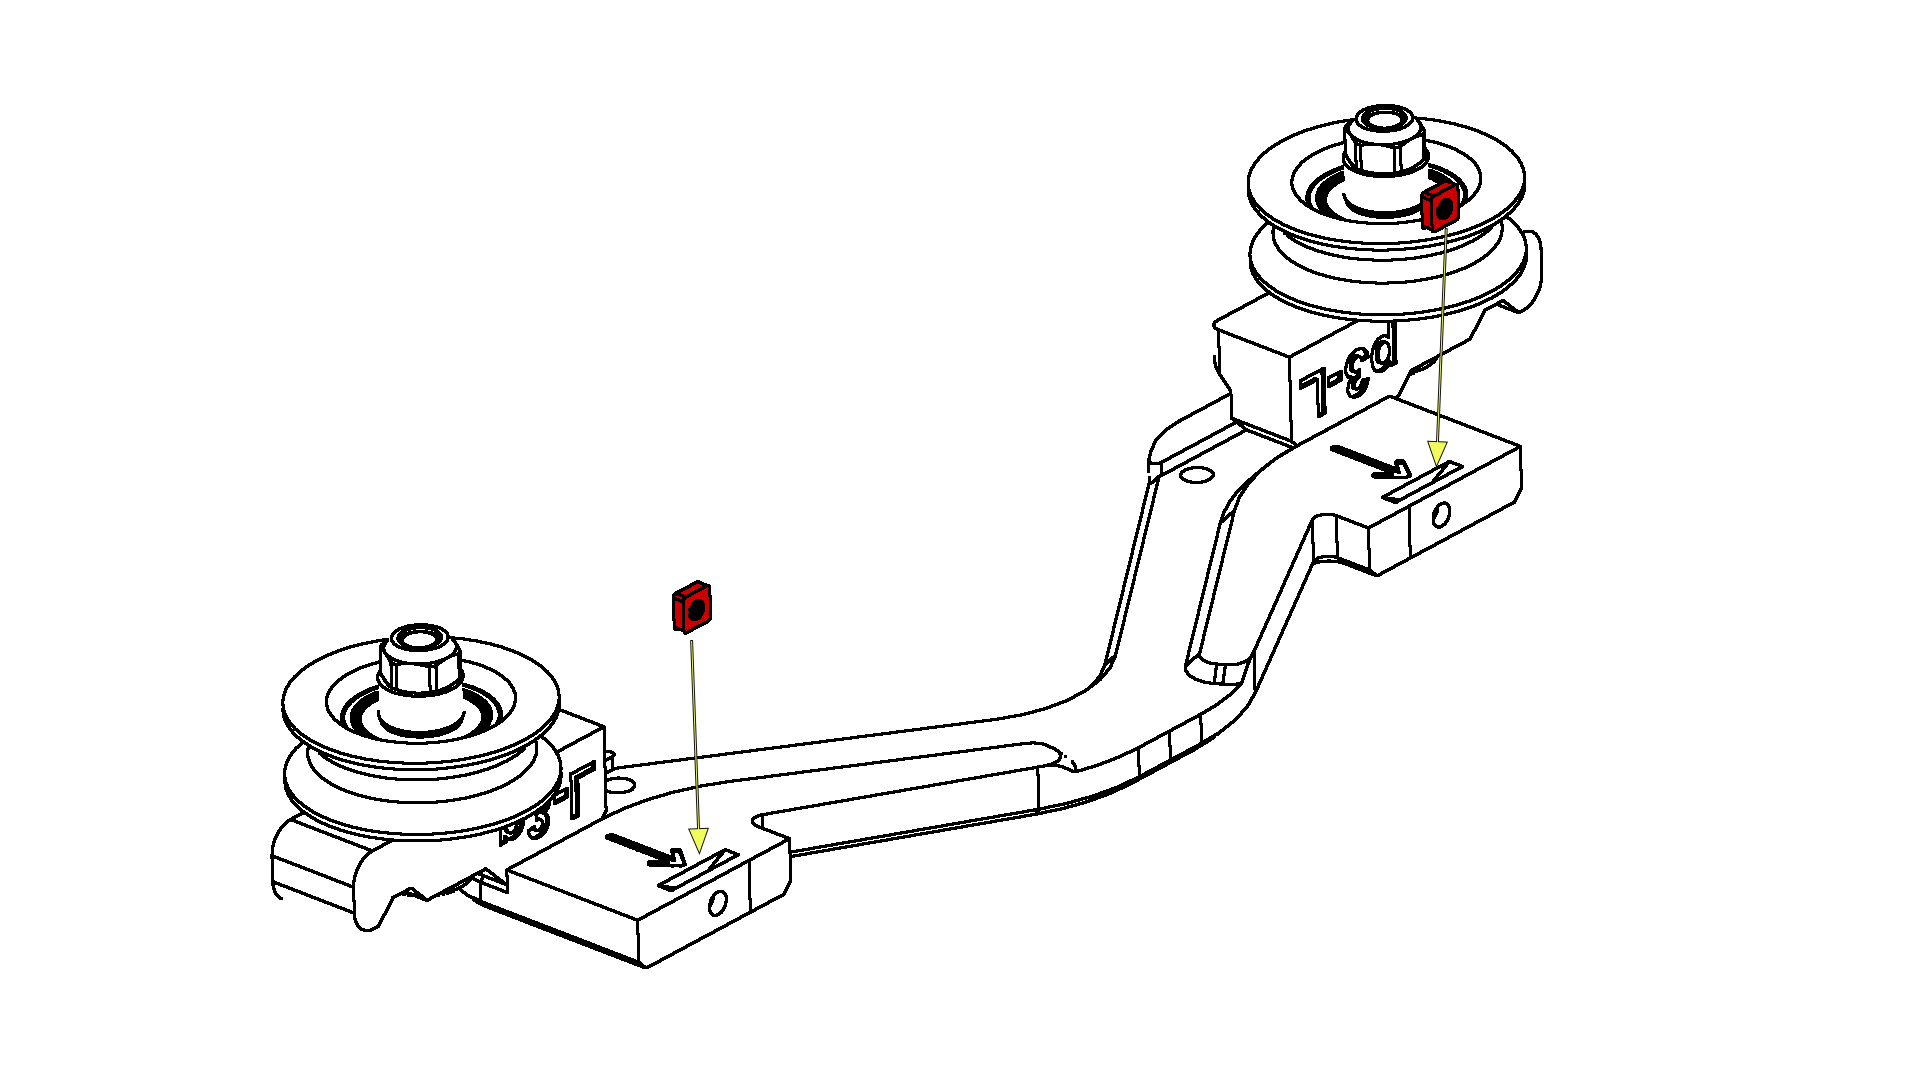
Insert the 2x DIN 562 M3 square nut (204-371) into the side panel previously assembled in step 2.
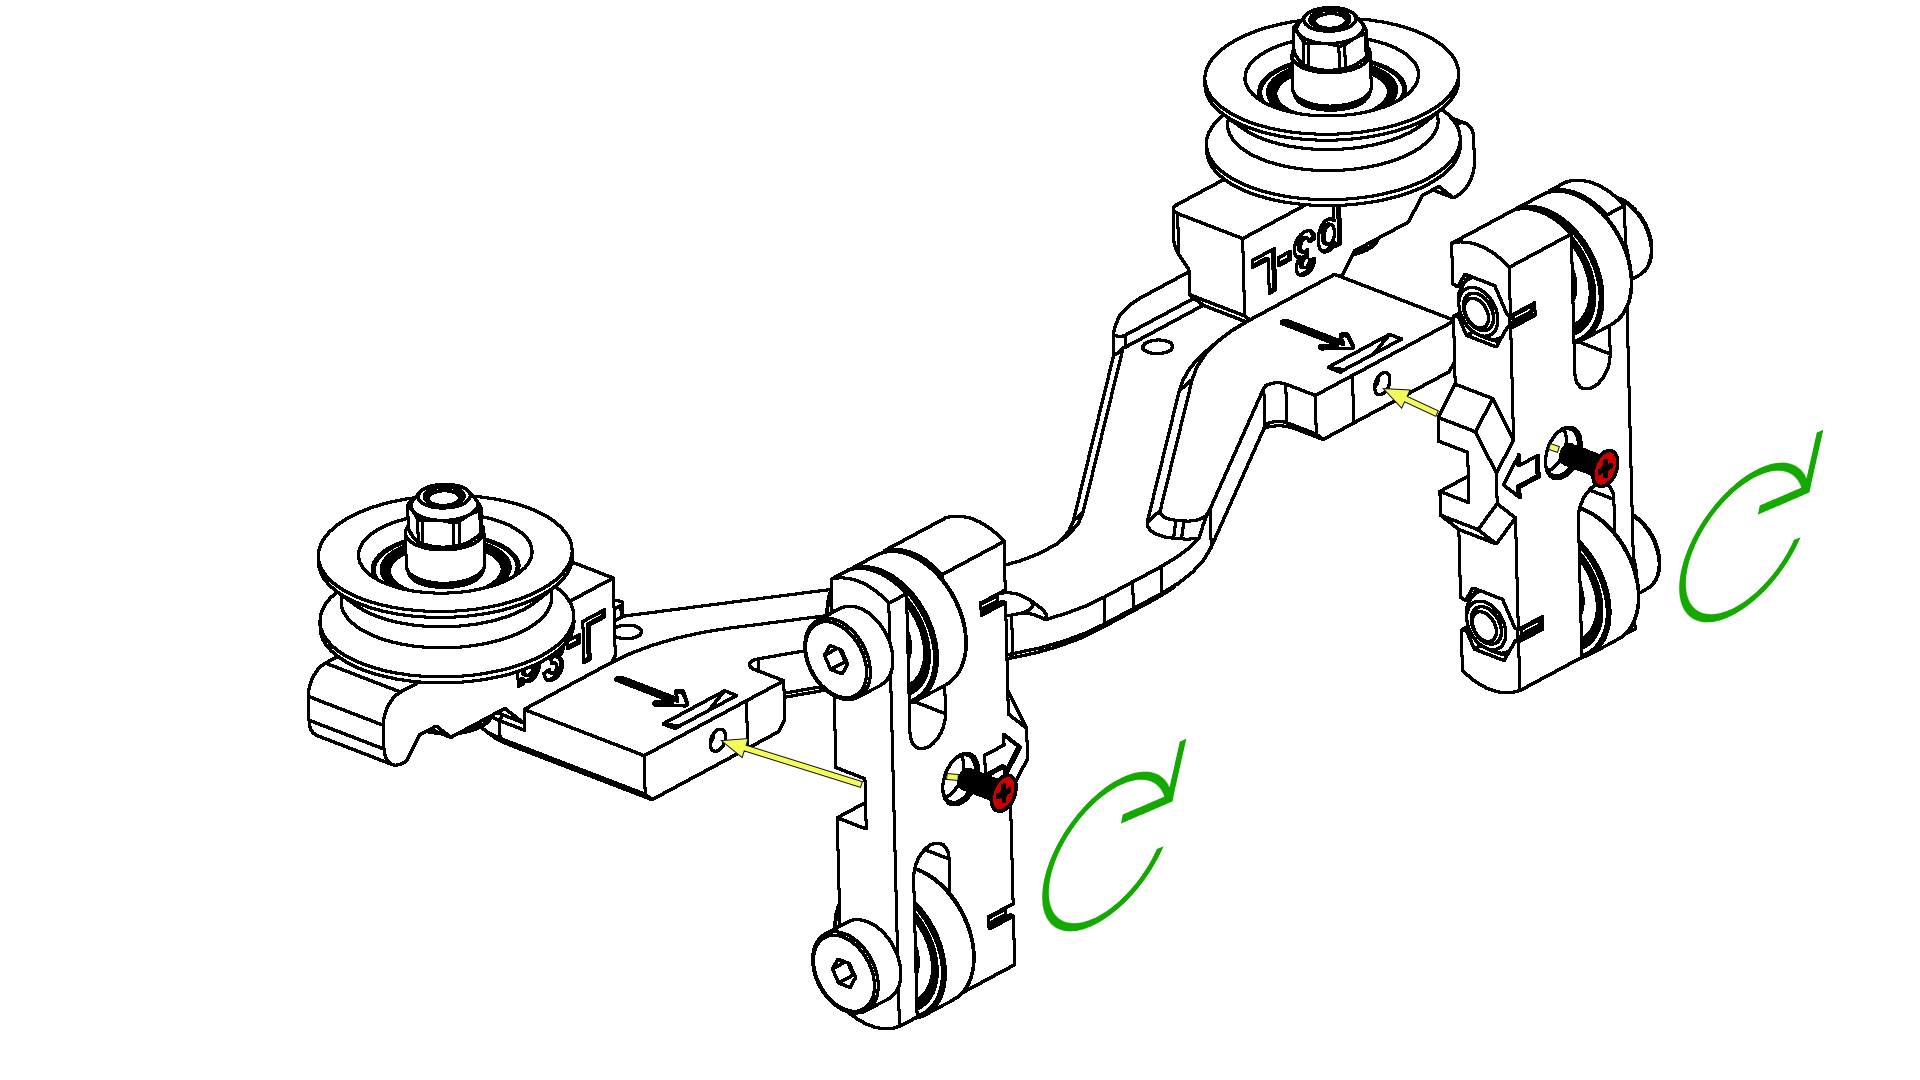
Place the 2x fab-next-p6A (621-946) on the side panel used in the previous step according to the illustration and fasten it with 2x DIN 965 countersunk screw cross recess M3x8 (385-954).
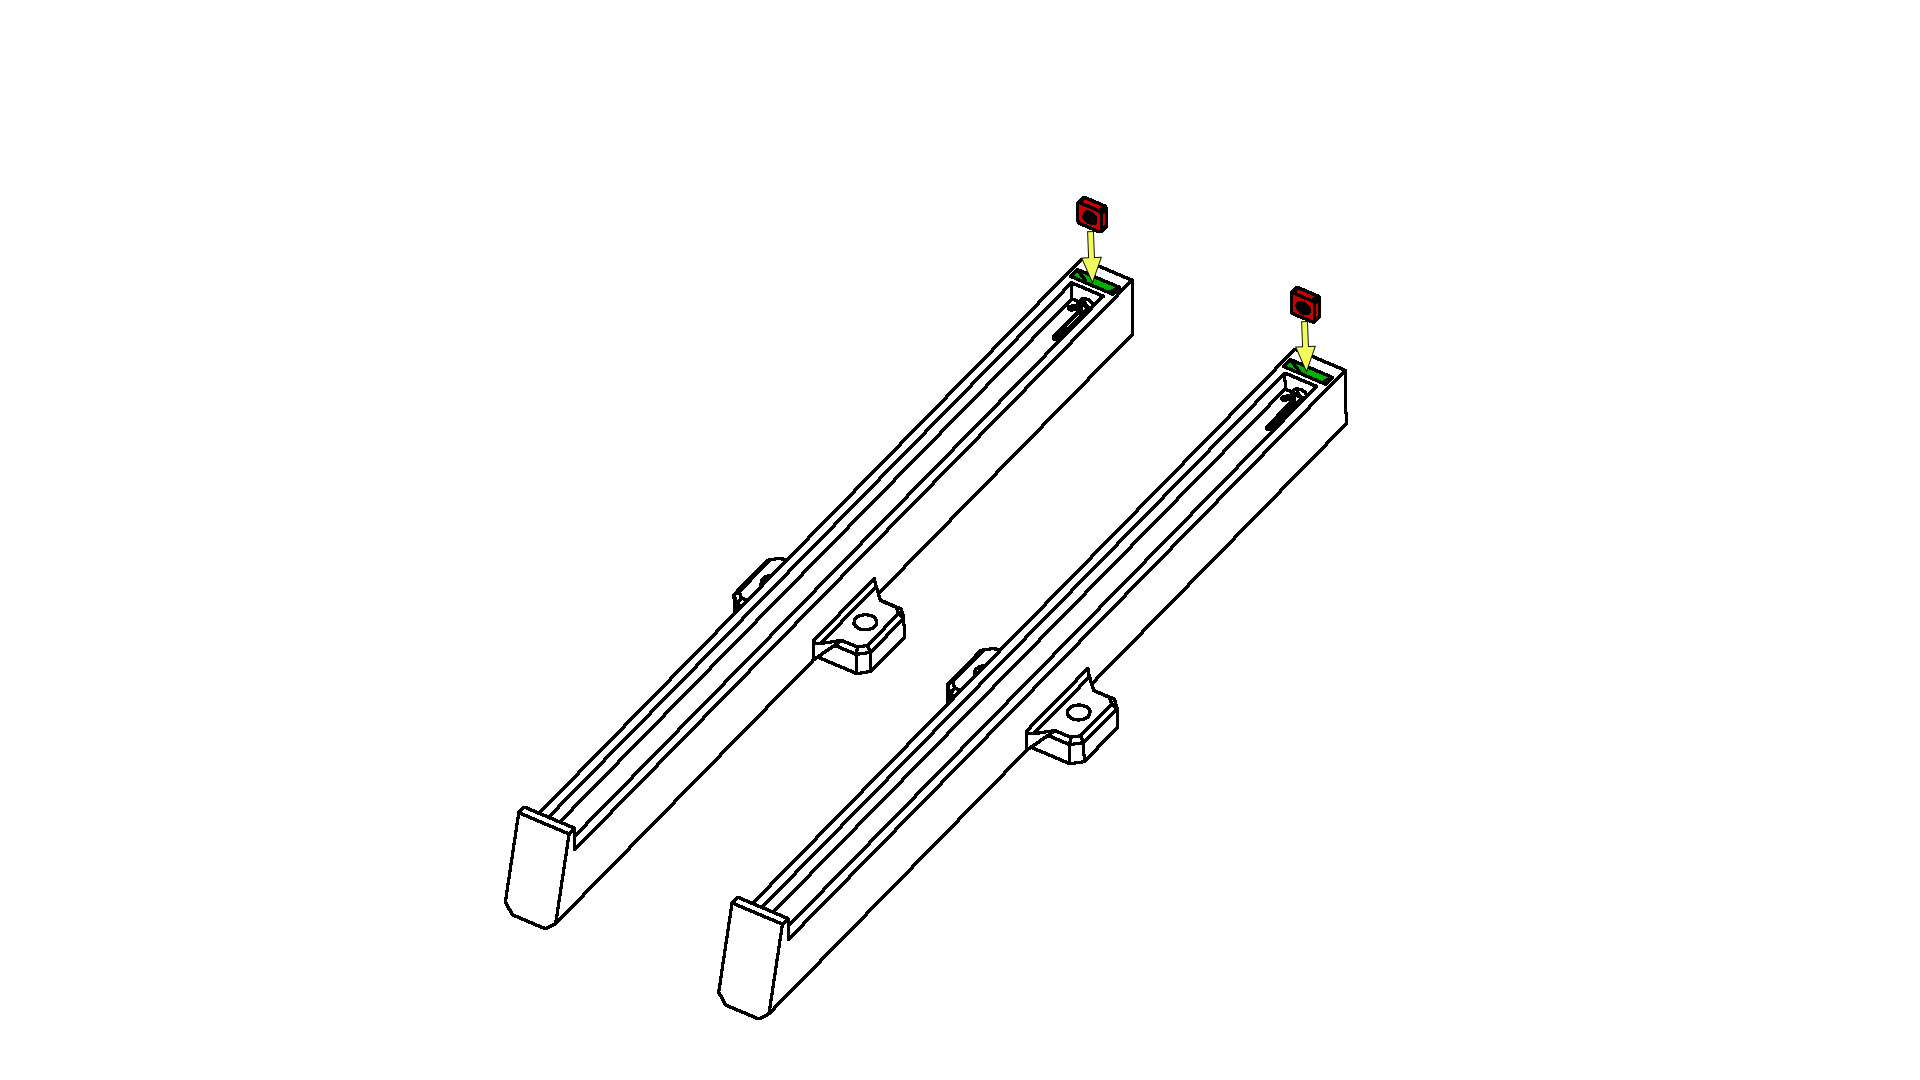
Use 2x DIN 562 M3 square nuts (204-371) and insert them into the guide rails according to the illustration.
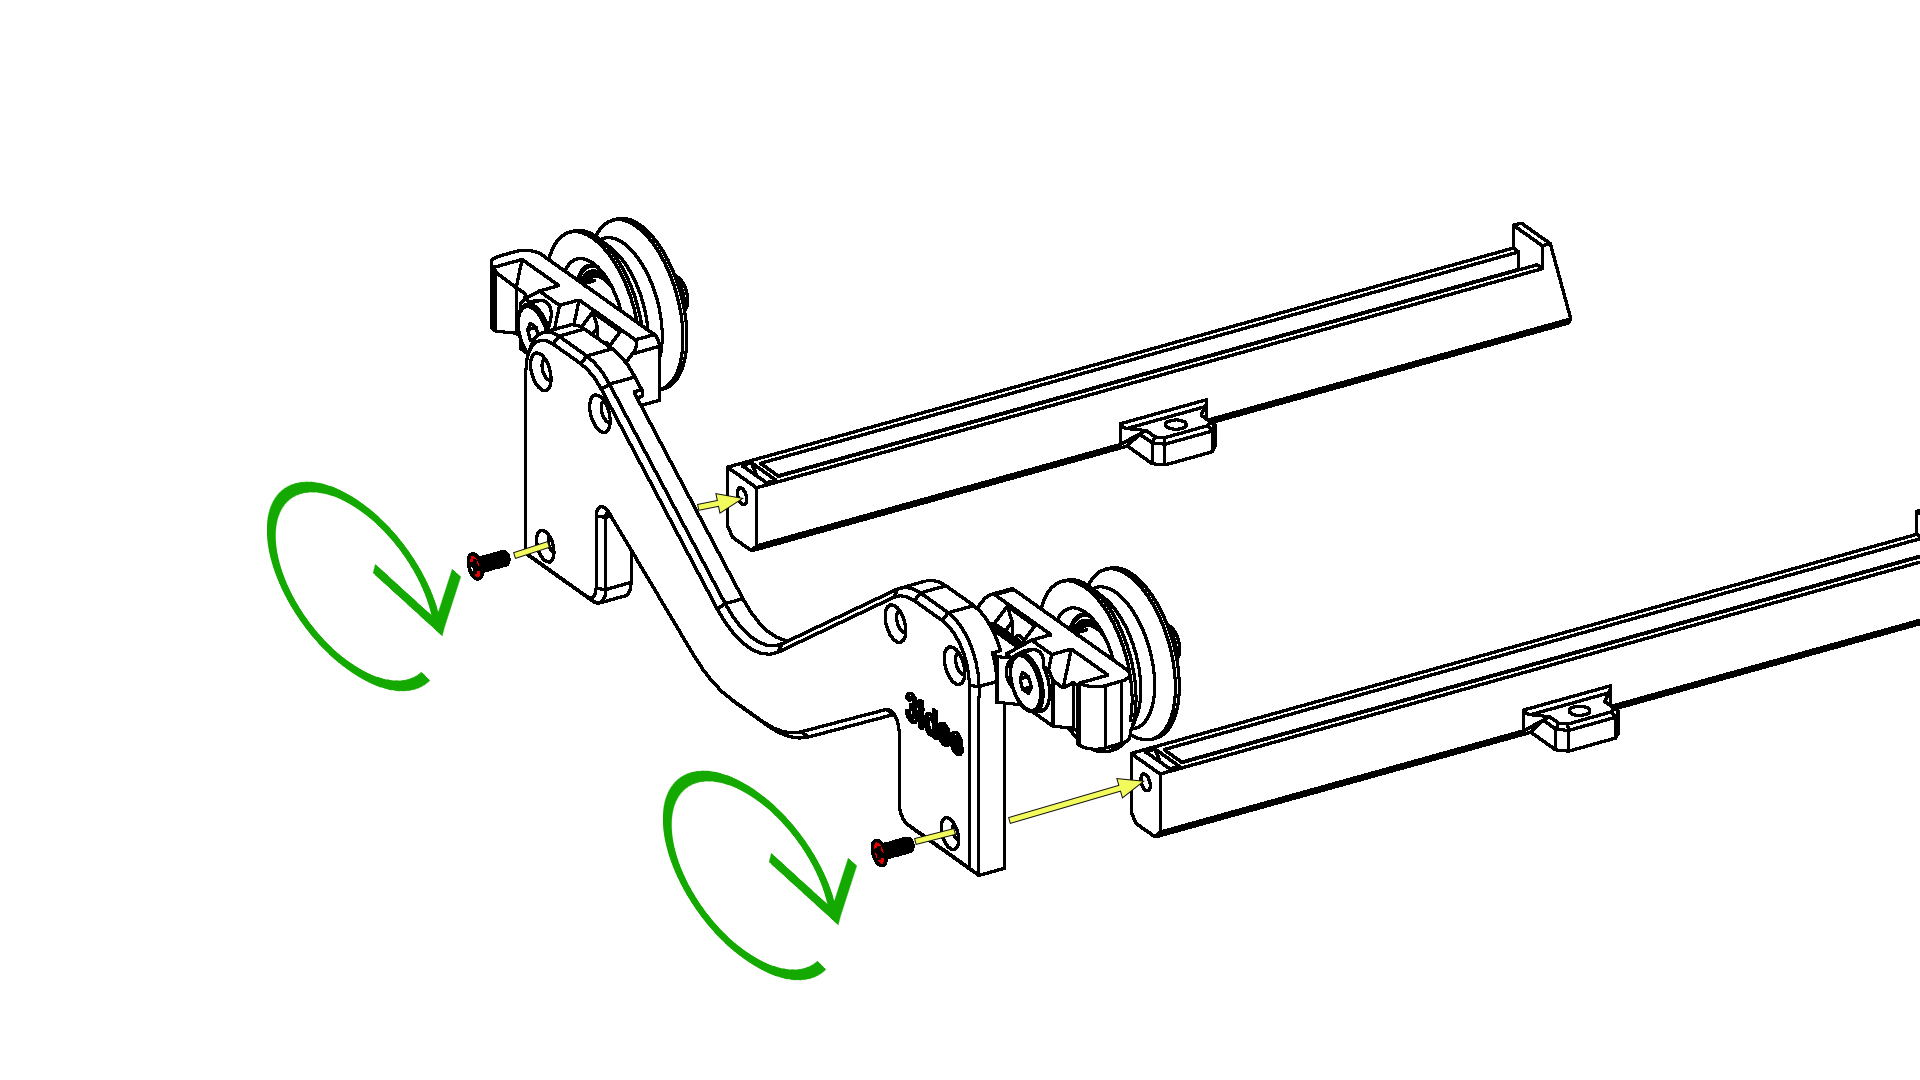
Insert the two guide rails into the side part with the logo according to the illustration and fasten them with the 2x DIN 965 countersunk screw cross recess M3x8 (385-954).
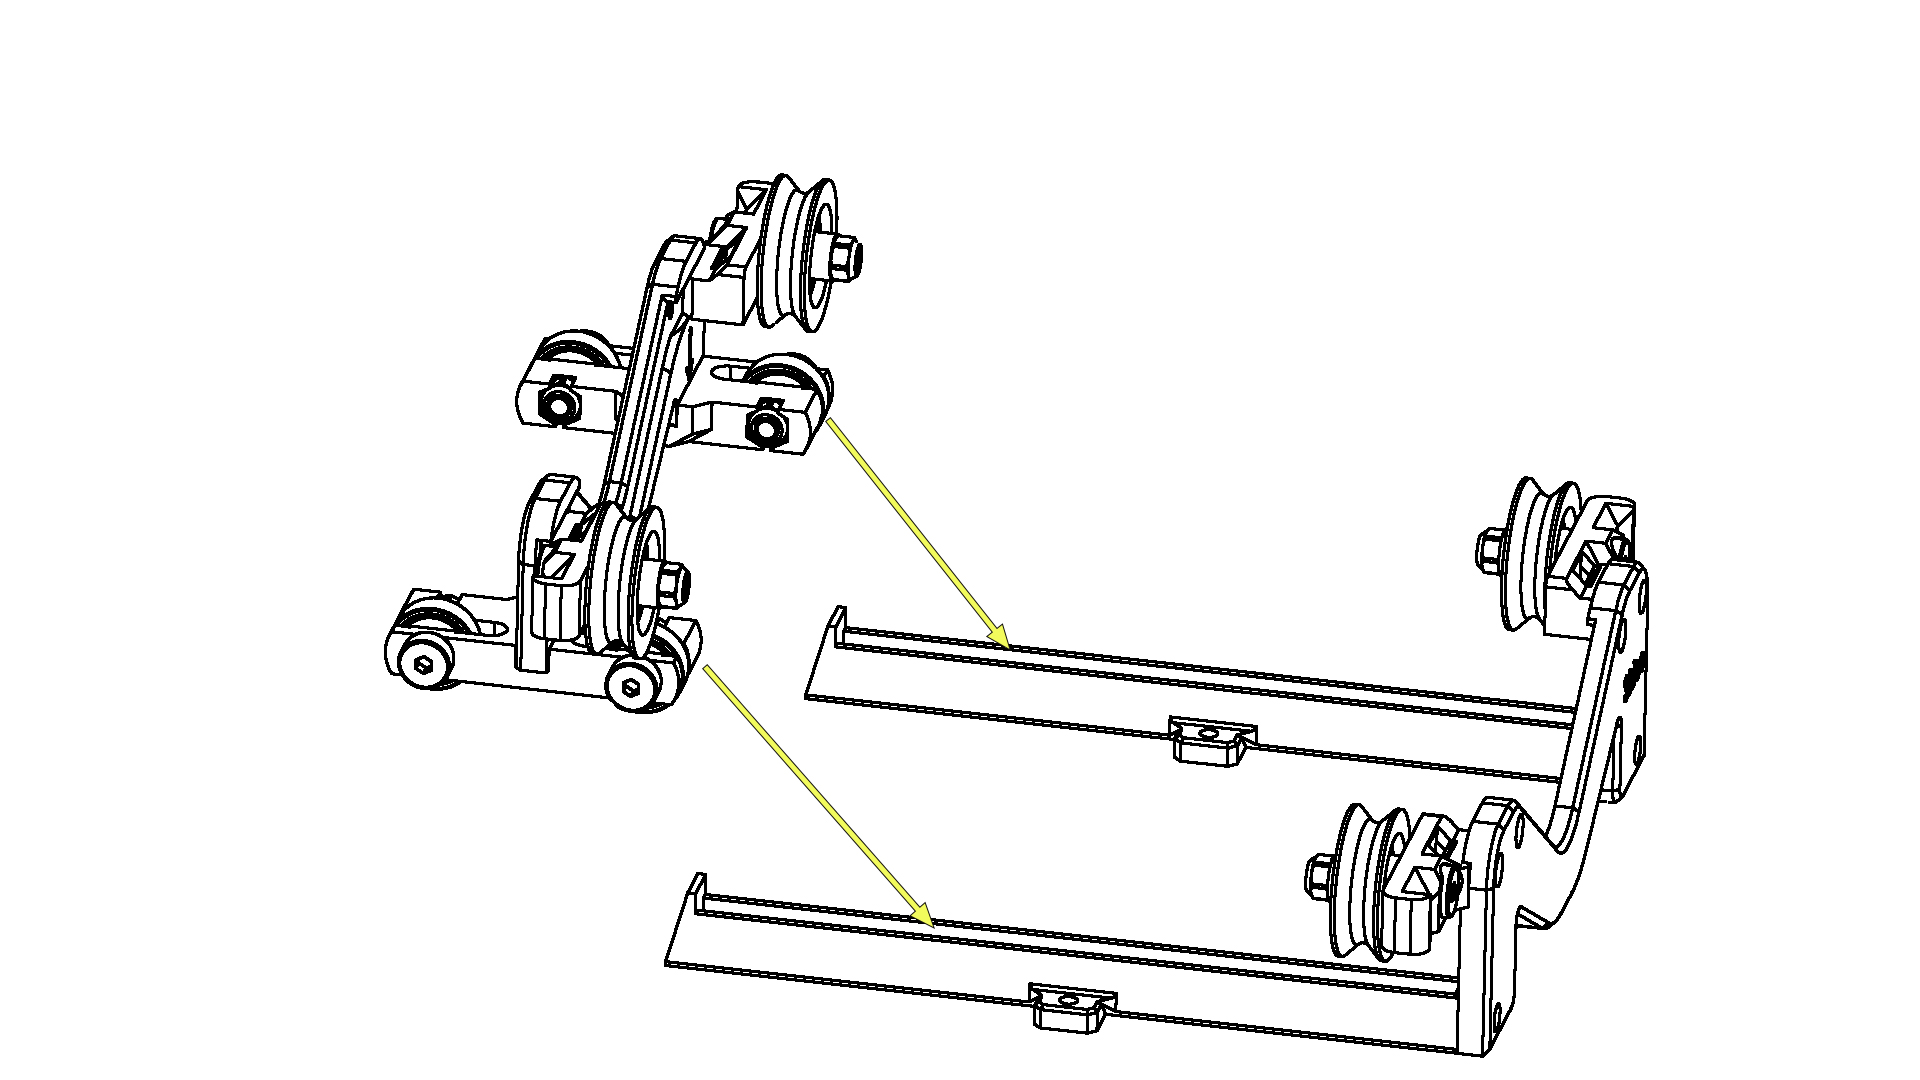
Now you can insert the finished assembly.
Make sure that you insert the carriage correctly into the guide rails.
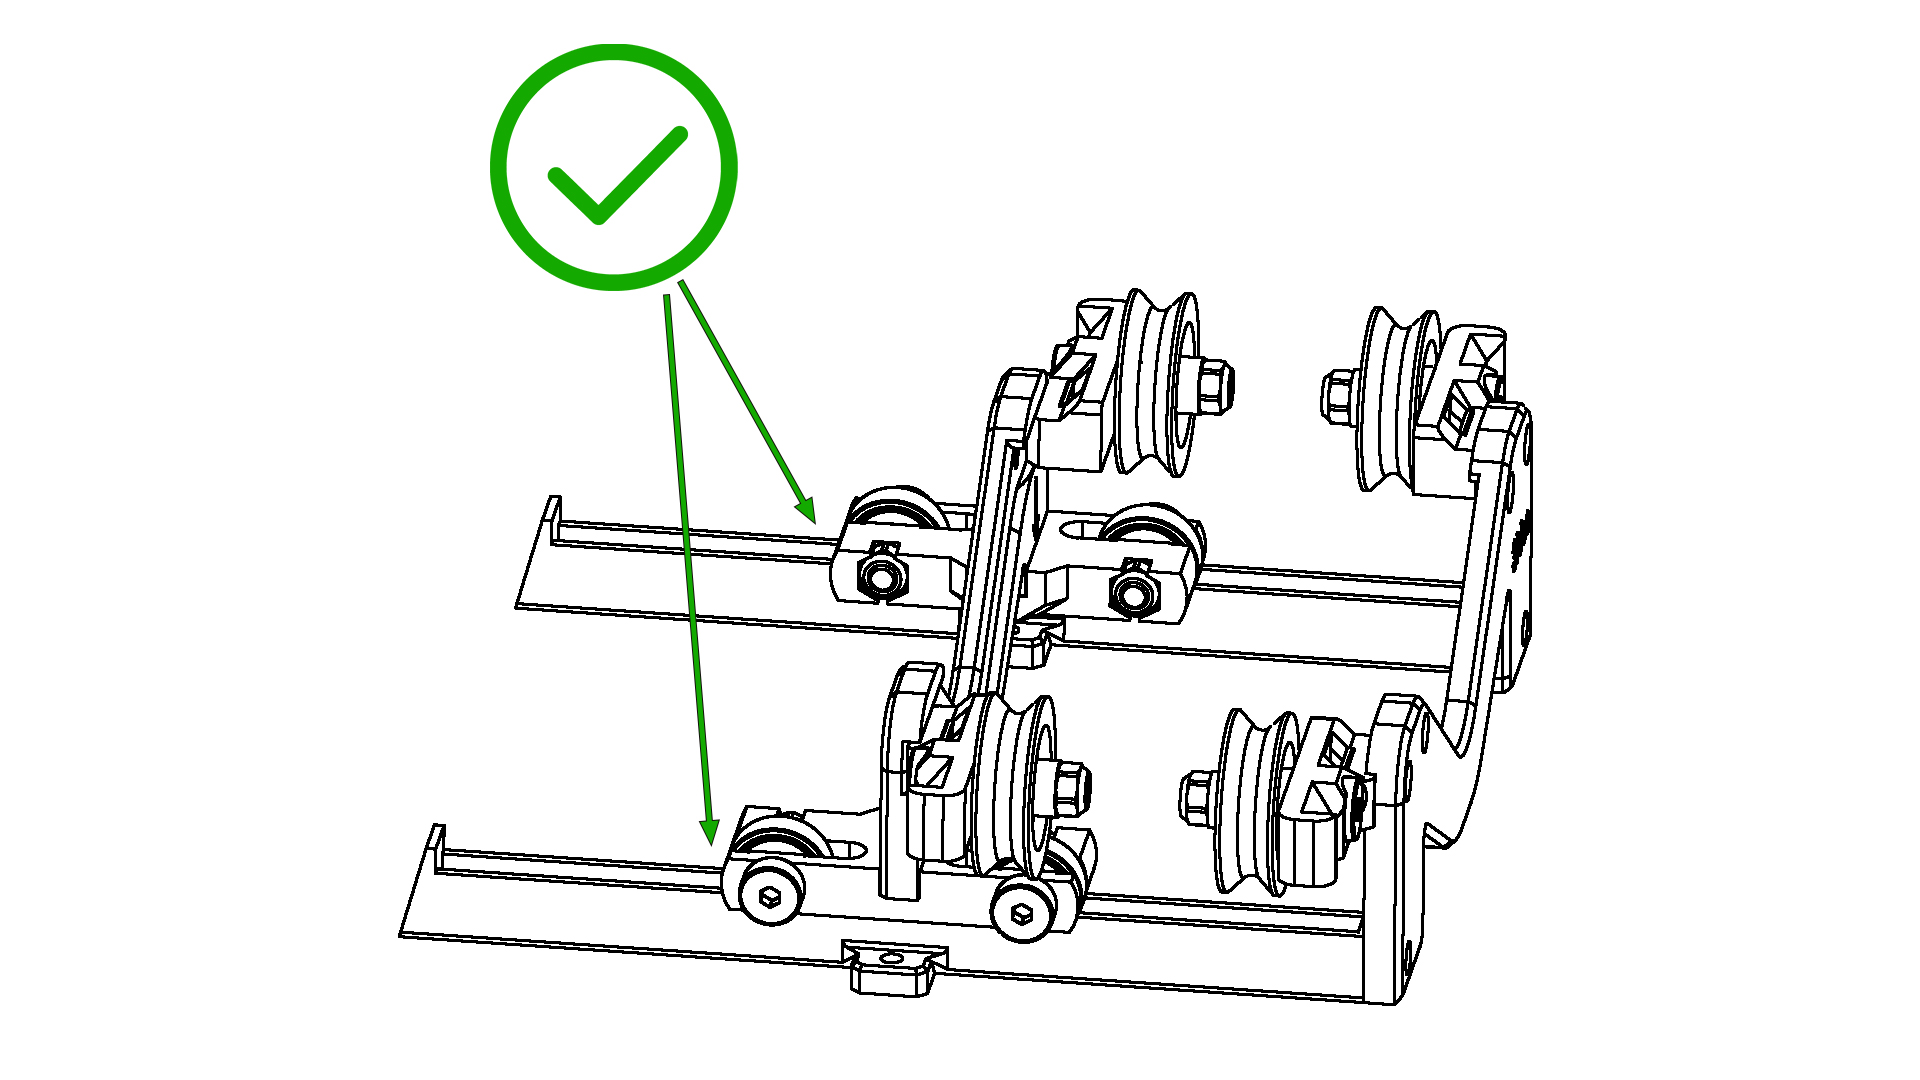
If all steps have been followed correctly, the filament dispenser should be ready for use. Have fun printing! If you have any further questions, please do not hesitate to contact us.
Safety instructions
- Make sure that all screws are tightened firmly.
- The material of the filament dispenser is conditionally heat resistant. Avoid direct heat in the vicinity of the dispenser, e.g. fire or direct sunlight in summer.
- PETG is UV resistant but not suitable for very high temperatures.
- Avoid jerky movements (pulling, tearing) on the dispenser. This can affect the performance of the material.
- Do not subject the dispenser to excessive loads such as leaning or pushing. This can impair the performance of the filament dispenser.
The filament dispenser is made of high-quality polyethylene terephthalate (PETG) plastic. PETG is both a colorfast and UV-resistant material and has low flammability. Polyethylene terephthalate has an average temperature resistance of approximately 50°C-60°C and is therefore not suitable for use around high temperature heat and heat sources.
The filament dispenser is suitable for use in heated chambers and can therefore be used in ambient temperatures of 50°C. This allows printing of materials such as ABS that require a higher ambient temperature. Please note, however, that the exact temperature requirements of the filament and the printer should be taken into account in order to achieve optimal printing results.
We wish you a lot of fun with your product.
Your 3idee Team

